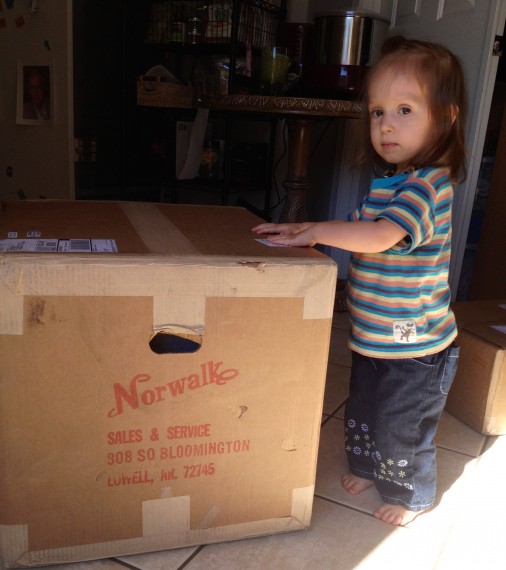
Here are the promised Norwalk videos that I made, in case you haven’t seen them. There are five in all. This was a huge project I undertook, but I kept at it because I really wanted to share how we use our Norwalk. There aren’t a ton of videos out there on it and I was getting a lot of questions. I knew the best way to demystify this beautiful beast was to share every detail in video. I say it was a big production because it involved a lot of organizing everything, some technical difficulties, a number of times of starting over, trying to record in the middle of the night while Kamea slept, then after a couple of nights of that…. realizing it wasn’t working so we actually packed EVERYTHING up and recorded at mom’s. So, while the videos aren’t perfect, I hope you like them and they’re useful.

In the first video I mention that I’d share anything new I noticed since recording them. Everything is still the same pretty much, but I’ll say four things.
1) The part of the process where we “mix” the juice (after pressing) using various large glass mason jars to hold it until all the “mush” is pressed (and all juice made), and then pouring it back into the large vessel to stir it up (this ensures that the juice is evenly mixed)…. well, we don’t do that anymore (this will probably make more sense after you see the videos). It was a bit messy and clumsy. Instead, we simply make sure to mix up the produce best we can while actually juicing, AND then we stir up the “mush” to further mix it (before pressing). That seems good enough.
2) The time for juicing truly varies per person, per produce used, and how good you are with the Norwalk. When Greg juices two gallons, it can take 2 hours or more. When I juice that quantity, it’s definitely shorter than 2 hours (I prep the produce faster. And, I press while making “pillows” at the same time … he usually makes pillows, then presses, then makes pillows, then presses, etc). This will make more sense after you watch me pressing pillows.
3) We tested the pulp with our neighborhood bunnies. Usually I feed pulp from other juicers, along with other organic scraps to the bunnies by throwing it in the yard. The other day we threw the Norwalk pulp (very dry) along with scraps. All scraps eaten. All pulp left! They didn’t want it because I took all of the yummy nutrients out of it. (Um… I feel kind of bad.)
4) It’s important to read the manual because not all fruits/veg are supposed to go through the pressing process (which removes all of the fiber). I’m guessing this is because these items aren’t a great marriage with the bags or cloths? More specifically, I’m guessing that these items might “do” something to the bags i.e., make them sticky or hard to use or hard to clean. For example, if I remember correctly, and don’t quote me because I don’t have my manual in front of me… I don’t think you’re supposed to press tomatoes or citrus. You can triturate them to a pulp (like, who wants that? Ok, maybe Lauren would love triturated citrus because she’s a citrus freak – lol- pulp and all… okay, in all honesty, I like pulpy citrus juice, too!)… anyway(!) this means that my green juices don’t have tomatoes. If I want citrus, I simply squeeze it in after. A tad disappointing but definitely not a deal breaker.
Lastly, I said I’d make a list of things we use… off the top of my head this is the list (I try to show everything in video #3)
- Norwalk juicer and its parts
- large bowls for washed produce
- veggie peeler
- bowl to thaw/soak cloths or bags
- bowl to catch “mush” after triturated
- large sauce/pasta pan with lid for storing mush while you triturate more because your bowl that sits under the triturator will fill up
- large glass baking dish for catching liquid that might drip while transferring pillows to press
- small cookie sheet with lip/edge for folding pillows
- 1 cup measuring cup
- glass mason jars
- large bowl for pulp
Here you go!