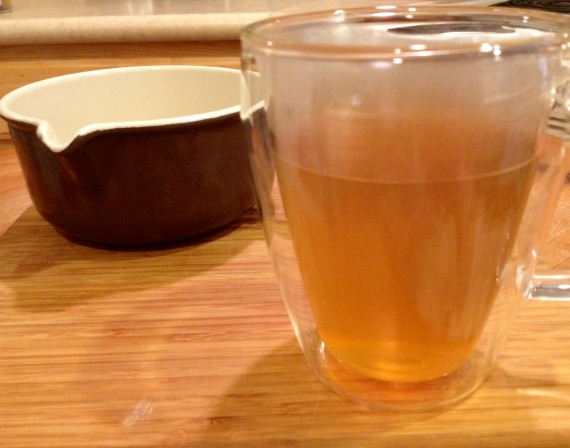
Bone broth… I love it!
- It’s rich in a powerful anti-inflammatory amino acid: glycine
- It has gelatin, which soothes gut inflammation.
- It’s filled with glucosamine and chondroitin, which can help heal your joints.
One of the earlier foods I introduced into our diet, after changing from vegan to omnivore, was nourishing homemade bone broth (stock).
2018 Exciting Update!
I wrote this blog post many years ago and I just wrote a book about Bone Broth with tons of extra and new information. Get it NOW!
In culinary circles, stock (or as I refer to it, bone broth) is considered the foundation of cooking, and for good reason.
A cup of bone broth seems so simple, and for the most part it is, but it can be used in so many ways. Bone broth really sets the foundational flavor for many recipes.
Michael Ruhlman writes about stock making, “It may be the most commonly avoided preparation in America’s kitchens, even though it’s the single preparation that might elevate a home cook’s food from decent to spectacular.”
I hope those quotes inspire you to embrace stock (bone broth) making. If you’re still on the fence, read on because I’ll show you how easy and wonderful it is to prepare.
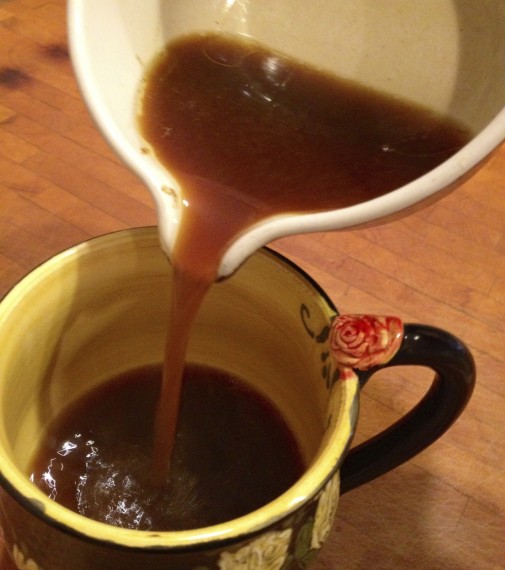
Making bone broth intrigued me, once we ended our decade-long vegan diet.
At the same time, I didn’t know much about it.We started our new omnivore diet with pastured-raised eggs, grass-fed ghee, high-vitamin butter oil, and then we added sardines (learn how to love sardines here).
Shortly after, I was mystically drawn to bone broth.
Honestly, it seemed weird, mostly because I was using the term “bone broth.” I couldn’t help myself because it sounded wickedly fun. Bone broth is also referred to as stock (chicken stock, beef stock, fish stock). Therefore, when talking with people outside the Paleo or Nourishing Traditions spheres, they might look at you like you have two heads if you say you make bone broth, which is really just good ol’ stock.
When I started the bone broth journey, I had no idea where to begin, but I quickly learned.
It’s my hope to introduce bone broth into your home, with excitement, because making bone broth (i.e., chicken or beef stock) is fun and very easy. With a few simple tips, you will be on your way.
There are many ways to make bone broth.
You can add a variety of ingredients, as well as use different cooking methods
- Slow cooker
- Sous vide
- Pressure cooker
- Oven
- Stove
They’re all easy, and you can’t go wrong.
(Update: I’m partial to my Instant Pot pressure cooker, see details on that below.)
Making bone broth is as simple as putting bones and joints, along with optional muscle meats, organ meats, vegetables, and/or spices, and water into a cooking appliance like a slow cooker, sous vide, pressure cooker, or stock pot. It’s up to you with how varied the ingredients are for your broth. It can be super simple or super complex.
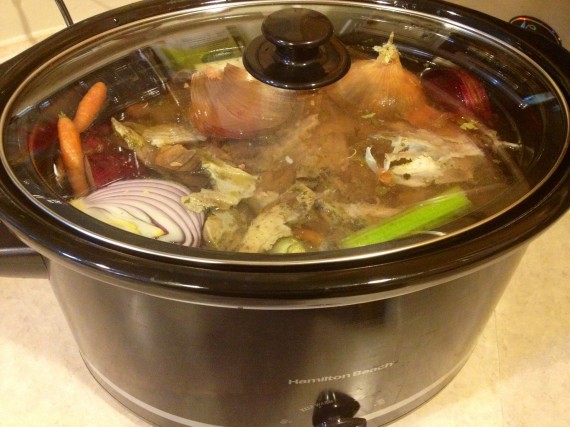
For bone broth, it’s essential to get a LARGE slow cooker so you can make a big batch and get everything in it you want. My first batches as a newbie bone broth maker were in a 6-quart slow cooker, but I quickly went as big as I could to an 8-quart slow cooker.
My whole family loves bone broth.
They especially love when I use it to make recipes like chili, stew, soups, sauces, and mashes (using bone broth in place of water). The flavor of your recipe deepens so much that you’ll think you’re sitting in a Michelin Star rated restaurant (a hallmark of fine dining quality), whether you’re saucing up a steak or making a simple soup with it.
Bone broth is nourishing comfort food.
Bone broth has a reputation for being healthy and nourishing, because it has minerals, gelatin, and more. Some even classify it as a superfood.
Is it? Perhaps!
People drink bone broth to increase strength and fortify the body’s healing while sick. Bone broth is also reputed to maintain health and prevent connective tissue problems.
Two prominent amino acids common in bone broth: glycine and proline.
- Glycine is important for many reasons, most notably to help make other amino acids as well as making heme, plus detoxification and enhancing digestion.
- Proline is important for collagen, and, therefore… skin, bones, ligaments, etc.
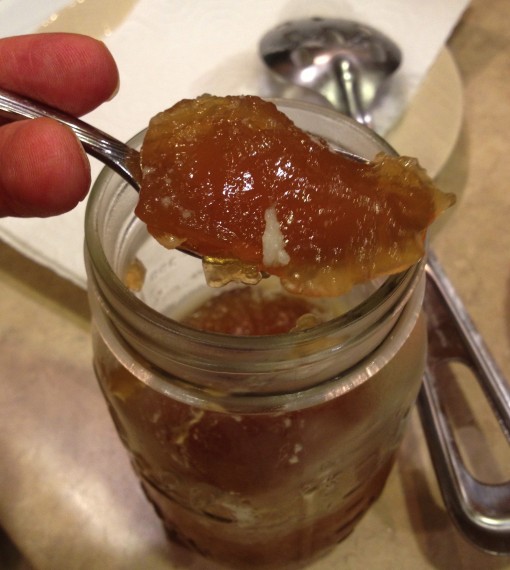
Bone broths are made around the world!
Bone broth has been made since the beginning of time practically. Sadly, most Americans buy stock in a box still – which usually has “flavors” added to it!
I suspect it’s because they don’t know how easy and fun it is to make. I have a slow cooker, stock pot, or pressure cooker making bone broth at least once or twice a week. The smell alone is healing. I love waking up, after it’s been cooking all night, and opening my bedroom door to the intense aroma of comfort. My husband loves coming home to the smell of bone broth cooking after he’s been gone for a few hours.
There are a few bone broth rules that should be followed:
- Brown the bones and/or meats in an oven before putting them in the final cooking appliance (slow cooker, pressure cooker, sous vide, or stock pot).
- Add 1 to 2 tablespoons of vinegar to help draw the minerals out of the bones and into your broth.
- Don’t salt the bone broth because oftentimes you want to use the it in another recipe. If it’s salted, it can throw off the other recipe you use it in. Make your bone broth unsalted, and then simply salt it before drinking or using, as needed.
- Although this isn’t required, I recommend bones and parts that include knuckles and joints. This ensures your bone broth has lots of gelatin in it.
Other than those rules, you have free reign to become a witch creating fabulous brews of all sorts.

I’ll share different ways I make my bone broth with a variety of pictures to tell the story.
There are 3 main ways we enjoy bone broth in our house.
- Drink it solo: We drink bone broth, by its delicious self, in a mug. As I mentioned above, I don’t use salt when making bone broth. Rather, I salt the bone broth before consuming it. Sometimes I use plain sea salt and other times I love adding smoked sea salt. Sometimes I stir in freshly chopped herbs. It’s delicious! It’s a great alternative to coffee for pregnant women, too.
- Other recipes: I use bone broth in other recipes, in place of boring ol’ water, for soups, stews, chili, sauces, mashed veggies, etc. It bears repeating this is the best way to take your meals to a new level of depth and flavor. For this reason, I always keep broth either cooking away on the counter, fresh in the refrigerator, or in the freezer ready to thaw and use at a moment’s notice.
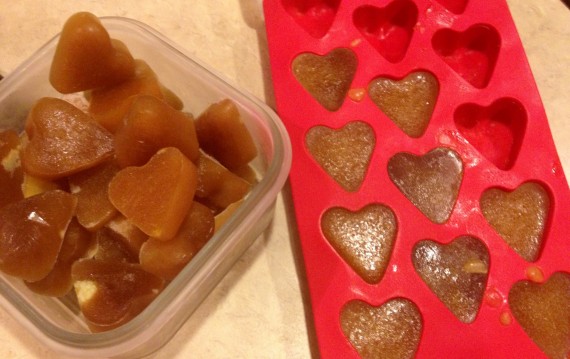
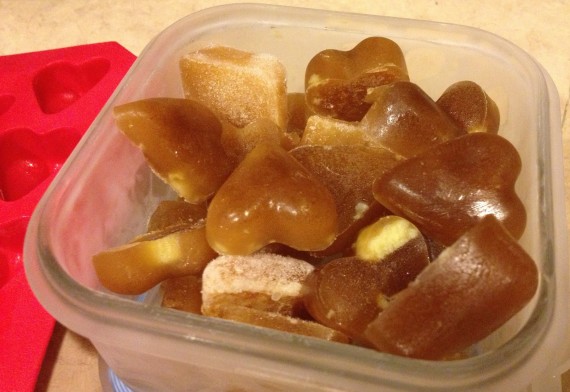
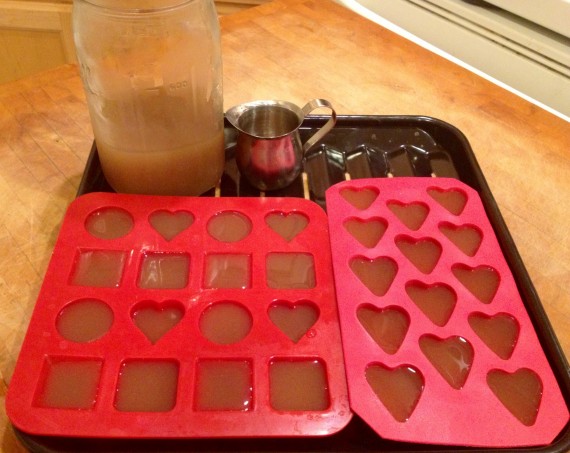
- Frozen: My little girl (at the time of this writing) doesn’t sit down to a hot mug of bone broth, because, well, it’s hot. For her, we actually do the opposite. I freeze the bone broth in fun molds of different shapes (shown below). We take a few out of the freezer, cut them into pieces, and she goes to town. She loves her bone broth “popsicle.”
Chicken bone broth, or beef or fish?
I love making chicken bone broth because it’s extremely tasty. I think most people are familiar with chicken bone broth, because it’s given to people in times of sickness for its healing benefits (though all bone broths can promote health).
With chicken bone broth…
You typically use the bones of chicken that you’ve already cooked; however, you can use fresh raw bones, including chicken feet! You need a lot though, because they’re small. The bones from one chicken isn’t really enough, in most cases, so it requires freezing the bones from your chicken roasts until you accumulate enough, and then making the broth.
When making chicken bone broth, you cook it for 12 to 24 hours in a slow cooker, stock pot, or sous vide (much shorter in a pressure cooker). Making chicken bone broth takes less time than making beef bone broth.
I want to quickly throw in here that fish broth is another popular option, but I’ve never made it. I never have bones from fish (or the heads) to use. I do know that you don’t cook it nearly as long though.
Fresh Produce or Use Up Old Stuff?
Many people will use whatever left-over veggies they find in the refrigerator that are on their last day or beyond. Personally, I’m not into that. I want really fresh foods, whether I’m eating them straight from the fridge or making a stock.
Using Good Wine
I also don’t use “cooking” wine. When I cook with wine, I use a good quality wine that I like to drink. And, on that note, wine in all bone broth is fabulous. I will sometimes use white wine in my chicken bone broth and red wine in my beef bone broth.
Directions: How to make fabulous bone broth many different ways:
Slow Cooker Bone Broth Directions
To begin, especially for beef bone broth, I recommend browning your meat and bones in the oven, before adding them to the slow cooker. This really elevates the taste. If you don’t do it, you risk not only a color-less looking broth, but possibly an icky tasting one, too. The flavor just isn’t the same. (This step isn’t necessary for chicken bone broth. That tastes good whether you use fresh or roasted chicken bones.)
Roast Those Beef Bones!
I roast my beef bones (and meats, when using) at 350 to 400 degrees F in my Breville Convection Smart Oven for 45 to 60 minutes. It’s a good idea to turn the bones (and meats) over once during roasting. (If I’m using my sous vide, then I roast more bones, because the sous vide can handle more quantity than a slow cooker. Therefore, I roast the bones in my oven to accommodate the higher quantity of bones.)
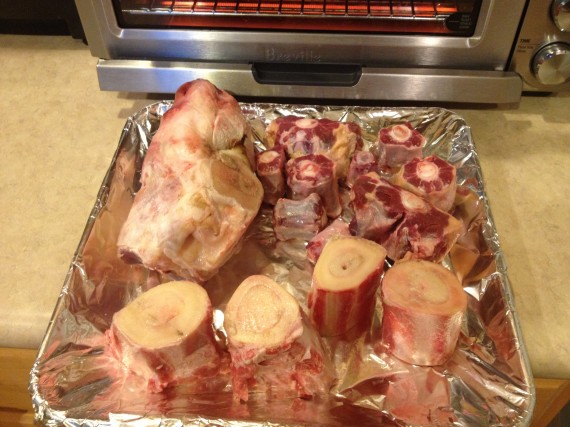
The consensus is that bones and knuckles give the bone broth “body” while the meat (like soup meat or oxtails) gives “flavor.”
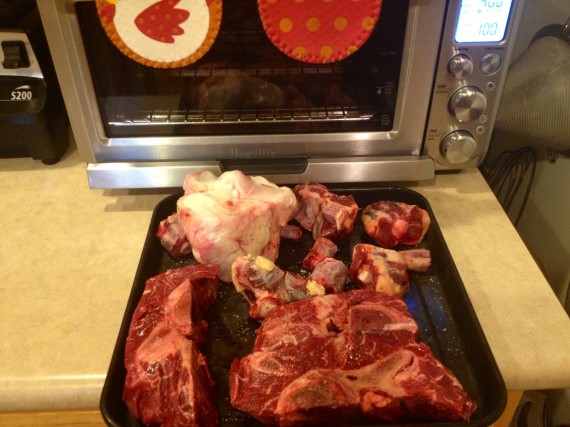
For the “bone part” of my bone broth, it usually consists of marrow bones and a big ol’ knuckle.
Beyond that I might add soup bones that have meat on them (shown above).
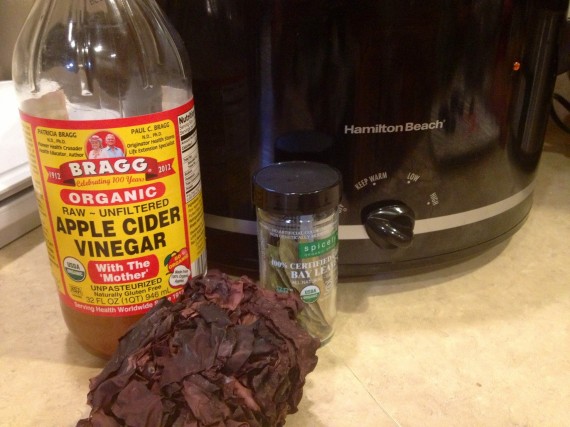
Get your slow cooker and add some water to it, about half way. Add a splash of apple cider vinegar. Once the bones are done cooking, add them to the slow cooker. At this point you need to decide if you want to add anything else such as vegetables or seasonings.
Extra Easy Bone Broth
If you want the bone broth to be extra easy, then simply keep it as bones and do not add anything else. I say “extra easy” because I’m thinking ahead to the straining process that happens at the end of broth making. Fewer items in the slow cooker to strain out, the easier it is. However, that doesn’t necessarily make for a fun broth.
If you want more oomph to your bone broth, but still want to keep it fairly easy to clean up, then add things like garlic cloves, an onion or two (skin and all – quartered), and bay leaves. The idea is that the bones give nutrition and body (good for mouth feel) and the meat gives extra flavor. I didn’t always use the combo of bones and meat in my beginning bone broth making days, but I do now. It is definitely better, but it’s not critical.
If you’re going all out with this, then consider doing what I wrote above, and also add chopped carrots, celery, and whatever veggies you fancy.
Before I go into the next steps, I want to share a list of things I’ve added to broth on different occasions for variety.
These things can be added at the beginning of cooking, during the second half of cooking, or in some cases during the last hour of cooking. Some people prefer to add veggies during the last hours of cooking since that’s all it takes to extract most of the flavor and nutrients.
- at a minimum, to have extra tasty broth include an onion (or two)
- cinnamon sticks
- veggies (beet, carrot, sweet potato, celery, parsnip, tomato, etc)
- sea veggies (kombu and dulse – these add a bit of salt but doesn’t seem like much)
- ginger root and turmeric root
- garlic
- shallot, leek
- tonic herbs and tinctures
- a few tea bags (Kukichu is great, and I’ve also used chai spiced tea bags. When I use tea bags I put them in for about 30 to 60 minutes and then pull them out. I drape the string over the edge of the slow cooker to make this easier. Keep the caffeine content in mind.)
- whole cloves
- red wine for beef bone broth and white wine for pastured chicken broth or fish broth
- fresh herbs (these are best when added during the last hour of cooking to prevent the bone broth from tasting bitter)
- tomato paste (very nice!)
After you have the items you want in your slow cooker, you’ll need to add enough water to cover it all. Do not to fill your slow cooker too high or it’ll bubble over. Speaking from experience here.
- Turn your slow cooker on LOW, put on the cover, and walk away. You’ll want it to cook for 24 to 48 hours for beef bone broth. During this time you can open the lid and give it a quick stir. You’ll notice that some of the liquid has decreased. You can add more water at this time, or not. It’s up to you. Adding more water can dilute it.
- When you’re ready to harvest your bone broth, after it’s been cooking for a good 24 to 48 hours, turn the slow cooker off. Let it cool until you can handle it. It’s important to chill it as quickly as possible for food safety.
- Get a big bowl out and remove the bones using tongs (putting them in the bowl). Throw the bones away.
- Get another bowl and put a strainer in it, better yet spend a little money on a well-worth-it chinois to get the highest quality result. Carefully scoop out the veggies and herbs. Pour the broth through the chinois.
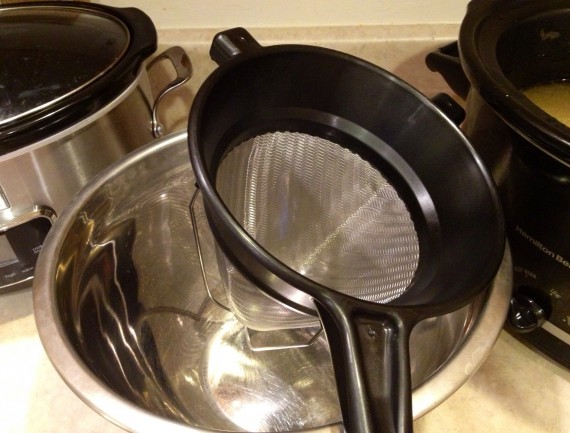
Then, I usually use a pyrex glass measuring cup for the scooping step as I transfer the bone broth to glass mason jars or Food-Saver storage bags.
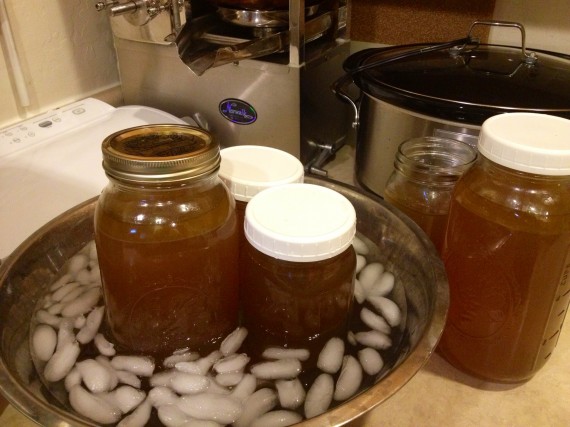
Pour the freshly strained broth into a vessel of choice that will be put in the refrigerator for at least a few hours, where the fat will accumulate at the top and you can easily skim it off. I use various vessels for this such as an 8-cup pyrex glass measuring cup, mason jars, and sometimes I just use mixing bowls where I put aluminum foil across the top.
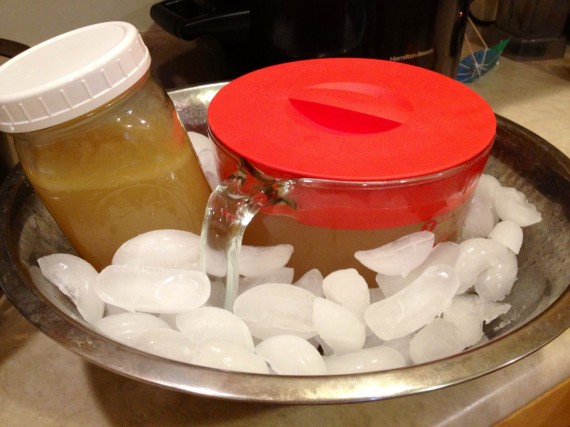
I then put it in a big bowl of ice to facilitate chilling and stick the whole thing in the fridge. When I was growing up in Michigan where the winters are cold and filled with snow, mom would often stick the vessels right out in the snow overnight.
NOTE: Don’t put hot bone broth into a glass jar and then proceed to shock it with an ice bath or it could crack the jar.
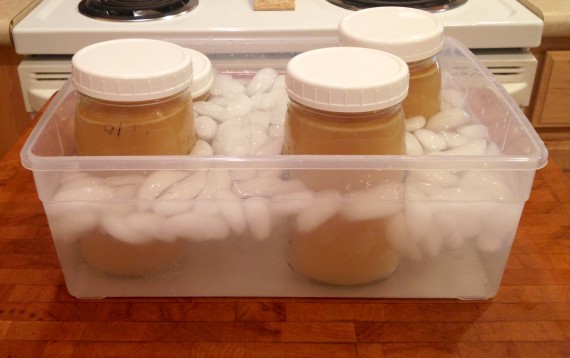
After it has chilled in the refrigerator, you can skim the fat off of the bone broth.
Some people keep this fat for cooking. Yum!!!
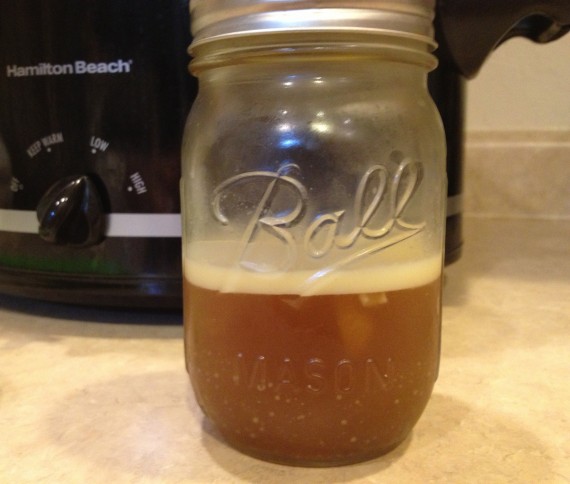
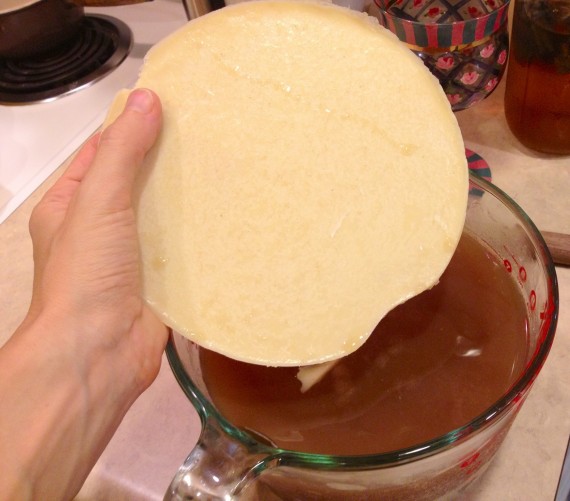
Now your bone broth is ready for consumption, for the most part. Obviously, if you’re just drinking it straight, you’ll need to warm it up on the stove (add some sea salt) and enjoy. Otherwise, save it in the refrigerator for up to 4 to 5 days.
Sometimes I won’t use all that I’ve made so I freeze it.
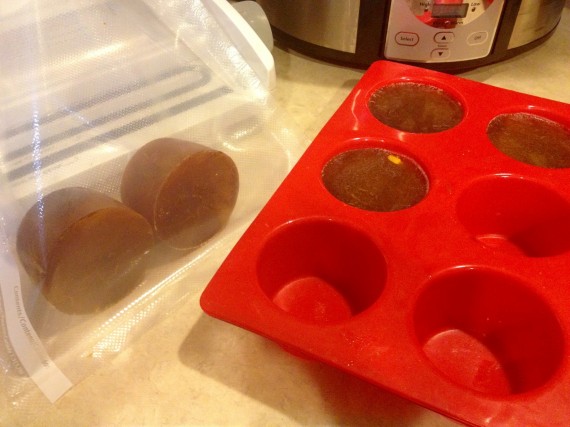
Keeping a stash of bone broth in the freezer is smart. I pour the broth into silicone muffin pans, freeze it, then pop out the pucks and FoodSaver them. (Food Savers rock… though, my dream is to one day have one of these where you can vacuum seal liquid items!)
I’ve also frozen my bone broth in glass mason jars, but don’t fill the jar all the way. It needs room to expand a bit. Speaking from experience here.
Instant Pot Pressure Cooker Bone Broth Directions
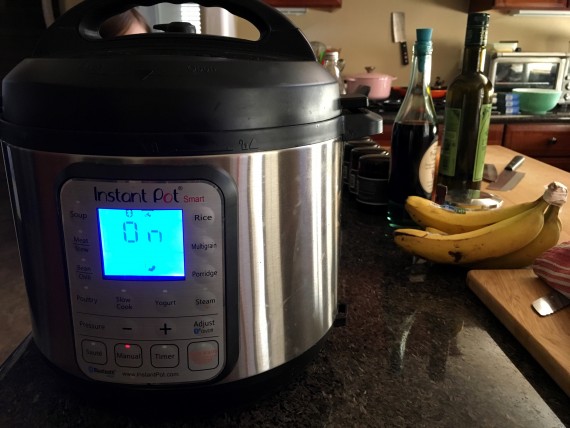
I’m updating the post to share my new favorite way to make bone broth: the Instant Pot (a pressure cooker).
Using an Instant Pot to make bone broth is easy like a slow cooker… but way faster. I can have it cooked in just over an hour, due to the nature of the pressure cooking. The only downside to using an Instant Pot for bone broth is the size. You’ll make less because it’s usually smaller than a slow cooker. Moreover, you can’t get away with packing as much into it.
Chicken Bone Broth Instant Pot Recipe
Yield 1 to 2 quarts
No excuses for buying chicken broth when you can make your own effortlessly. It’s a great use for the bones after enjoying a whole chicken that you cooked for the family. Want it even more nutritious? Add chicken feet!
- Chicken bones, raw or previously roasted
- Water
- 1 bay leaf, optional
- Splash of vinegar, optional
- Place the chicken bones in the Instant Pot and add a few cups of water. I like to add enough to almost cover the bones.
- Turn the Instant Pot to HIGH pressure for 60 minutes and let it naturally release.
- Strain out the bones and throw away.
- Let the broth cool and store in the refrigerator or freezer.
Sous Vide Bone Broth Directions
I mentioned that you can make bone broth in a sous vide supreme, as well as your regular ol’ oven.
These are great options because it allows you more control of the temperature. This means that it doesn’t simmer to heavily or boil as can happen in a slow cooker.
Why is that important?
Kitchen professionals will tell you that stocks should never boil, and some say it shouldn’t even simmer, because it affects perfection when making stock. Once the stock simmers or boils, you get an end result that’s cloudy in both taste, feel, and look.
Sometimes perfection is overrated?
I don’t know what cloudy tastes like, but I do know that slow cookers are easy and cheap. So, if that’s how you want to make bone broth, then do it. The important thing is making it.
That being said… I’m hooked on making bone broth with my sous vide. There’s something satisfying about having such precise temperature control, and therefore knowing that I’m producing the finest and prettiest broth. Plus it makes a lot.
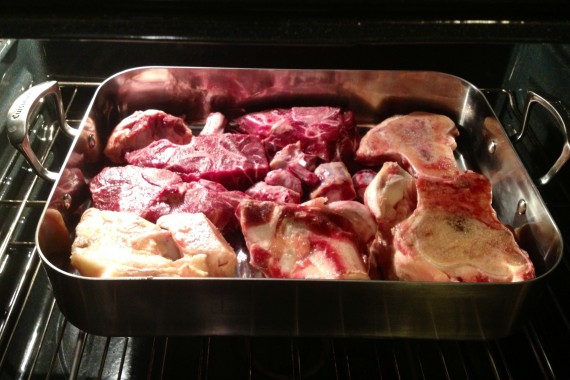
When I use my sous vide, I can get out my big roasting pan for lots of bones and meat (pictured below).
I learned about using my sous vide for bone broth from Chef Steps, a cool culinary site. I’m so glad they featured this because I never would have imagined using my sous vide for anything other than food sealed in FoodSaver bags. Making this in my Sous Vide Supreme means not using bags and therefore using it like a temperature controlled slow cooker. Beautiful!
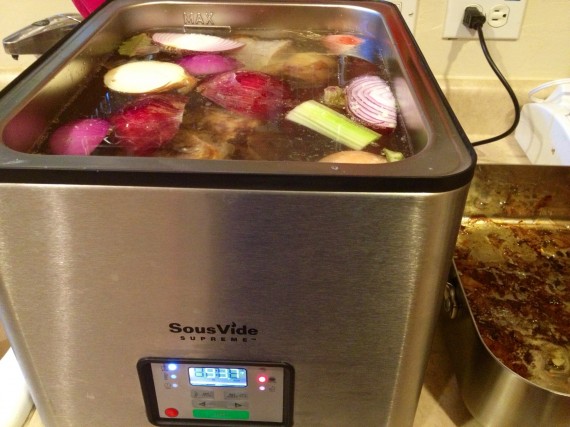
Follow the same instructions for using a slow cooker, but put everything in your sous vide.
- Put ingredients in the sous vide. Add water to almost reach the top of the ingredients.
- Set the temperature to 194 degrees F.
- Put the lid on.
- Let it cook for 24 to 48 hours for beef bone broth and 12 to 24 hours for chicken bone broth.
- Strain and store.
Stock Pot Stove Bone Broth Directions
In classic French cooking, you use a stock pot, and it’s cooked on the stove.
The benefits of a big stock pot is that it’s designed to be taller than it is wider for proper evaporation. You also cook it without a lid.
A stock pot is designed differently than a sous vide or slow cooker, so this should be taken into consideration when choosing which vessel for making your stock or bone broth. The process is a tiny bit different, too.
The basic elements for classic stock:
- bones and trimmings
- mirepoix (in a ratio of 3 onion to 2 carrot to 1 celery)
- head of garlic (cut horizontally and thrown in is fine)
- bouquet garni (thyme, bay leaves, parsley, and small handful of peppercorns… dried thyme and bay leaves can be used)
- sometimes tomatoes or tomato paste (for beef or veal stocks)
Classic French Cooking Stock Rules:
- The ratio of bones to mirepoix should be 1 part bones to 1/2 mirepoix.
- Never salt your stock, because if you want to reduce it for a sauce later, you can’t control the saltiness. This is another reason you don’t want to use store bought stock for reducing into sauces. They’re usually salted.
- The classic method doesn’t use vinegar. However, I’ve read time and again, vinegar is helpful for extracting more nutrition from the bones. You can choose.
Here’s what you do for using a stock pot.
- Add enough COLD water to cover the ingredients by 1 to 2 inches.
- Bring to a boil as quickly as possible and then immediately turn it down to a simmer. I know I mentioned earlier that chefs don’t want the stock to boil, but I’m presuming that they don’t want it to boil beyond a few minutes. Keep an eye on it, and get it to a boil for only a moment in the beginning, then reduce the temperature to a little simmer.
- From there you cook it 2 to 3 hours for chicken, 4 to 5 hours for beef, 20 minutes for fish, and 10 to 12 hours for veal stock. You’ll notice that I cook mine for much longer than those times. I’m under the researched assumption that cooking them longer enables more nutrition extracted from the bones.
Although not classic, I stand by my use of all kinds of unique ingredients in your bone broth, when desired. While I use my bone broth in many other recipes, and simplicity can be beneficial there, even essential, I also drink it straight. By adding diverse ingredients, it makes plain broth drinking more enticing.
Oven Bone Broth Directions
Using the oven is my least favorite method for making bone broth. Although I could sort of control its temperature using a careful eye, monitoring, and a thermometer, it meant lots of monitoring. Not easy to do while sleeping. Maybe my oven sucks. Also, too much water evaporated during the oven cooking process because of the cooking vessel shape. Though I suppose you could cover it and prevent some evaporation.
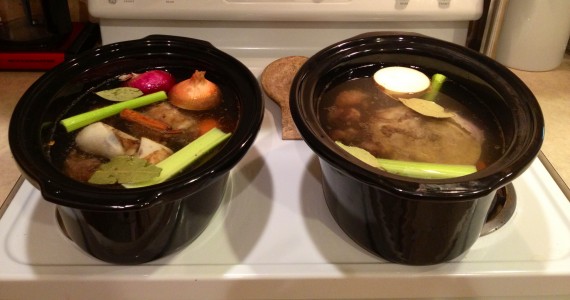
If you want to use your oven to make bone broth, you can use your slow cooker inserts like I did, or any nice cooking vessel that is oven safe.
- Fill it with ingredients like I noted above for using a slow cooker.
- Put the cooking vessel(s) in the oven.
- Set a thermometer (like this one) inside the broth to efficiently monitor the temperature from outside the oven.
- Set the oven to about 200 degrees F or less, and keep track that your broth doesn’t rise above that. Again, not my favorite method, because it requires monitoring if you’re trying to narrow the temperature range. Also means you’re using your oven all day, which can heat up your kitchen (not fun in the summer).
Now, go make some bone broth!
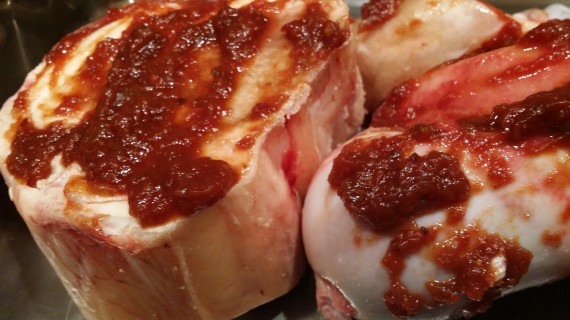
Here is a unique bone broth full of beautiful flavors. I roasted the bones from with tomato jam to add amazing depth and flavor. (I also use Katchkie Farms products when I make Sunday Grass-Fed Brisket.
Learn more in my new book about Bone Broth TODAY!
Similar Posts:
- Recipe: Longevity Bone Broth Soup to Help Live a Long Life
- I Got Slow Cookers Coming Out The Wazoo – I Have My Reasons
- A Simple Chicken Soup “Dinner” Made Before I Finish My 1st Cup of Morning Coffee
- Spiced Bison or Beef Short Ribs (Slow Cooker, Paleo, Gluten Free)
- Delicious 4-Ingredient Boursin Stew Recipe (Slow Cooker)