Back a few years ago when we left our vegan ways, I started with a paleo approach, and it felt so good. So right for my family.
To everything there is a season, eh?
Slowly, as I learned more, I decided to add some dairy to our lives… IF(!) the dairy was whole-fat, grass-fed, organic (yada yada yada). As a result, we added raw cheese and (non-raw) yogurts. So far so good. Then, we added some grass-fed ice creams… although not often, the treat proved to be fine for us.
Now, for some reason I’m drawn to whole-fat, grass-fed dairy kefir, a probiotic beverage. Perhaps it’s because I want to try have foods as a steady probiotic source instead of taking probiotic capsules where I’m always wondering… “Are these active and helpful?”
Sadly, though, kefir (like I require: whole-fat, grass-fed and plain), is not something easily found in the health food store.
Kefir is similar to yogurt, but in a drinkable form and has some different nutritious elements than yogurt, i.e., kefir’s beneficial probiotics and yeasts. I learned about it here. Interestingly, kefir actually colonizes the intestine, whereas yogurt is transient, passing through to feed the good bacteria. Kefir is even known as milk champagne (um… OK!), which I find appropriate… a milk with a bit of effervescence.
Thus, both yogurt and kefir have a role.
I decided to try my hand at making it since I couldn’t find it.
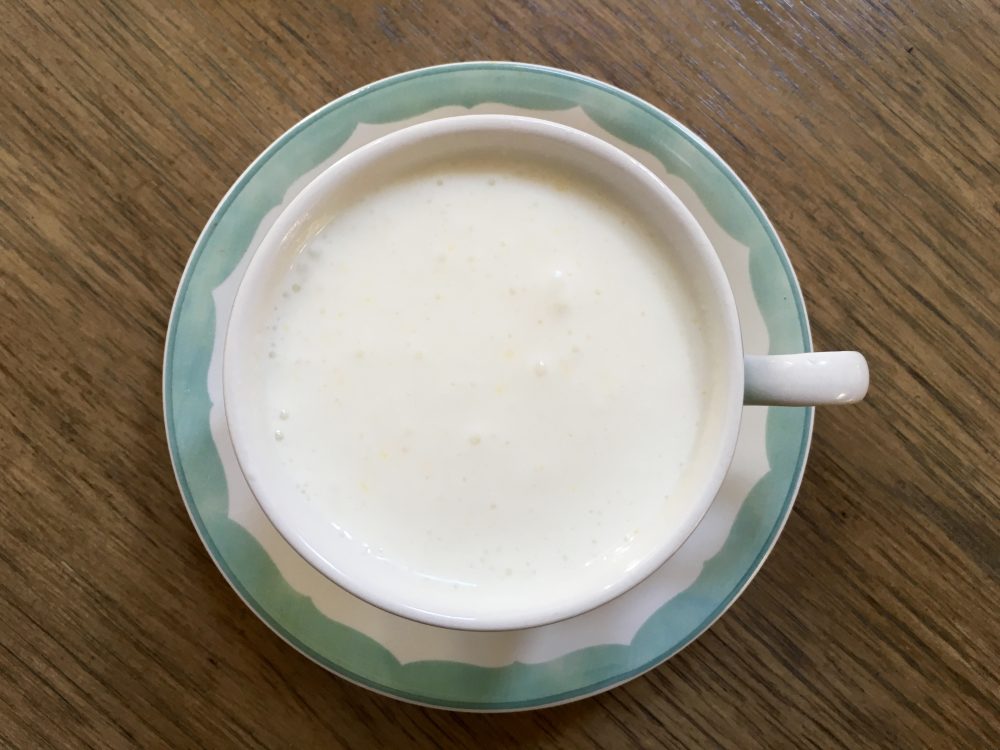
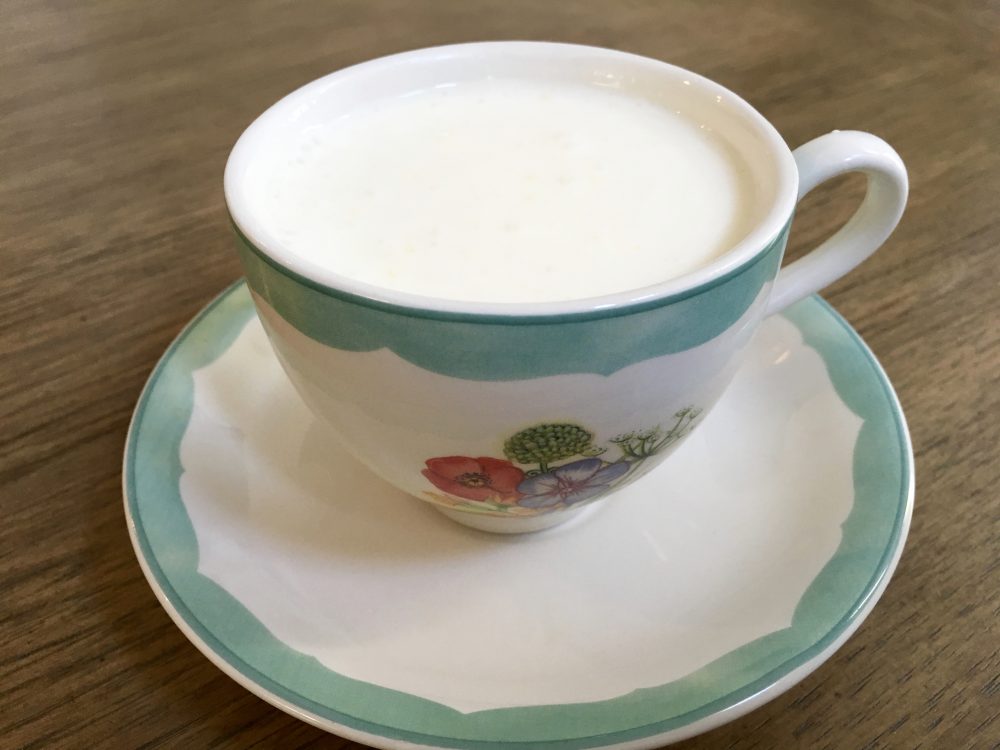
The results? SUCCESS! It’s creamy, healthy, and delicious. Oh, it’s crazy easy, too.
Although I link to Cultures for Health above, I have yet to try their kefir grains or kefir starter culture. I ordered the grains last week though – more on the grains in a bit.
For the kefir I’m making the past weeks, I bought Body Ecology. According to expert, Donna Gates, kefir means “feel good” in Turkish. Sounds good to me. :)
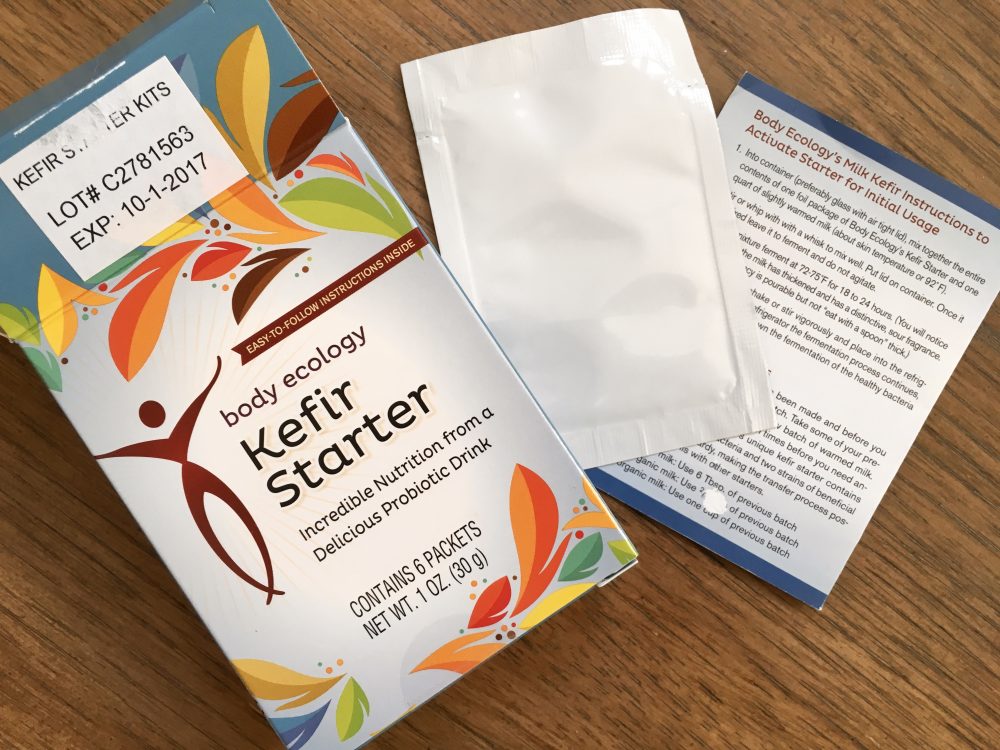
You see… When you make kefir at home, you can make it with a powder (starter culture), which is convenient but short lived. Therefore, you get a box with a handful of packets where each packet could yield up to 7 batches of kefir before it’s time to start a new packet. Once you’re out of them, you buy a new box of starter culture packets.
Or, you can buy the milk kefir grains, a long-term reusable heirloom culture, which take a bit more work to get going, but last pretty much forever when properly used. Also, importantly, the grains have a larger number of probiotics than a starter culture.
So… to get my feet wet, I started with Body Ecology’s milk kefir starter packets, and, as I said, they’re great. I made about 5 batches with the first packet. It’s possible I could’ve tried for a couple more, but I’m experimenting so I decided to start a new packet. I like the results and highly recommend them.
Let me share how easy this process is with the Body Ecology starter packets:
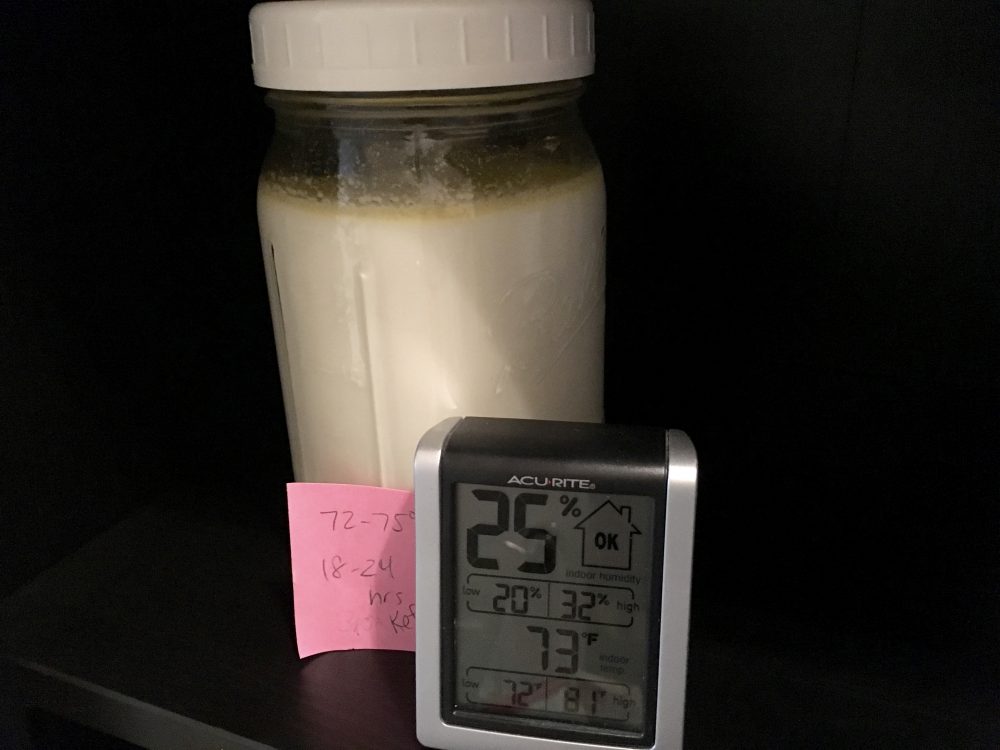
Get a quart-sized mason jar. Pour the contents of one packet of kefir starter culture into the jar. Get out a small pot. Gently heat one quart of quality milk (for me, that’s whole-fat, grass-fed, non-homogenized, non-gmo, organic milk) to a temperature of about 90 degrees. I use an instant read thermometer but just know it’s only a tiny bit warm.
Pour the warmed milk into the quart mason jar with the starter culture. Whisk or stir to combine. Gently place a lid on top and let it culture on your counter or anywhere that’s between 72 to 75 degrees F, for 18 to 24 hours. Don’t disturb it during the culturing process.
Once the time is reached, tighten lid, shake it up and refrigerate it for at least a few hours before enjoying.
I’d like to point out that this is how I made Kefir from Body Ecology Starter Culture. This is not necessarily the same for Cultures for Health starter culture, which I’ve not tried, nor is it necessarily quite the same if using milk kefir grains. That said, it’s supposedly all similar and all easy.
Now, before you finish that original quart of delicious kefir, start the next batch from that same original kefir you made, by transferring 6 tablespoons of the original kefir you made to a new quart-sized mason jar. Warm a new quart of milk like above (or almost a quart’s amount given you now have 6-tablespoons of kefir already in the jar).
Transfer the warmed milk to the jar with the kefir. Cover and let it culture the same way noted above. Repeat this process such that you might get 7 quarts of kefir from that one original silver packet before starting a new silver packet from the box.
NOTES: Make sure all of your utensils are very clean AND don’t culture different products next to each other. For example, if you’re culturing vegetables in your kitchen, then culture your kefir at least several feet from them.
So… How about Milk Kefir GRAINS???
During my kefir research, I learned about Cultures for Health milk kefir grains. From their super friendly website, I decided to take the plunge and try the milk kefir grains (they’re not actually grains, but called grains because they look like grains). I was interested in having something that lasted so long, something even more nutritious, and I was ready to go to the next level by going pro – hehe. They will arrive this week so I’ll report back later.
Before I go, you should know that kefir can be used to make so many things like:
- cheeses (hard and soft)
- sour cream
- veggie dips
- cultured ice cream
- butter
- baking: use in baked goods
- add to soups, smoothies, and salad dressings
- and drink it plain, the way I prefer
- (check out here specifically for the three easiest cultured foods to make)
PS I also plan on trying my hand at making yogurt, too! I’m excited. There’s good money to be saved when making your own cultured foods. See about that here.