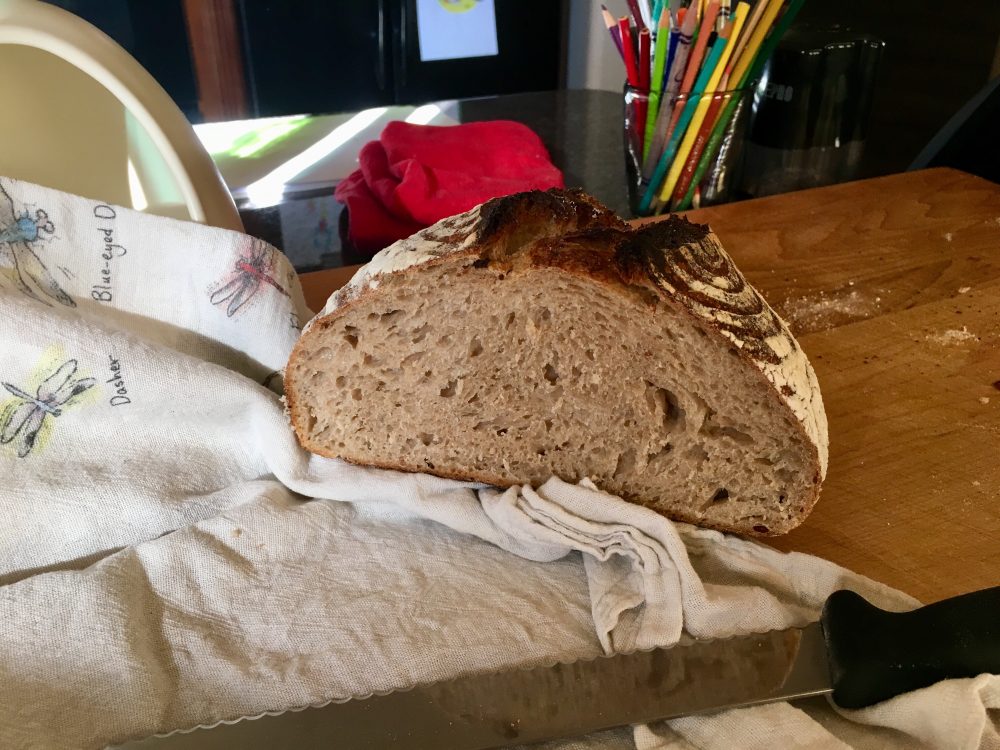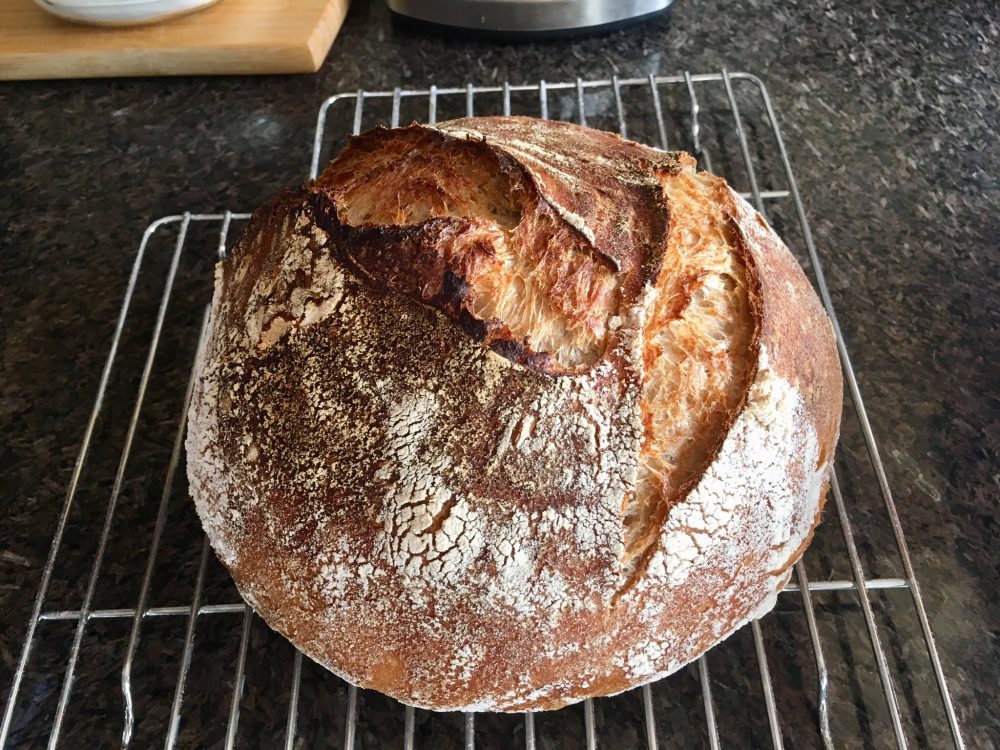
I’ve written about my passionate obsession with sourdough bread.
True sourdough bread, for me, must be delicious … and fortifying (I’m using that word a lot since watching “Anne with an E”) … and it must be made without commercial yeast.
I’m talking:
- Organic flour
- Filtered water
- Sea salt
For a couple of years I was enjoying a fairly local bakery who made it just perfectly. I tried making it myself and it was a disaster. I hung up my apron and accepted defeat. The bakery was just too damn good and I had limited bandwidth.

However, in my newly frugal life, my mind was changed.
Inspired by Mr. Money Mustache and a seemingly-ridiculously-easy recipe from Cooks Illustrated, I was ready to dust off my apron and give ‘er a go again.
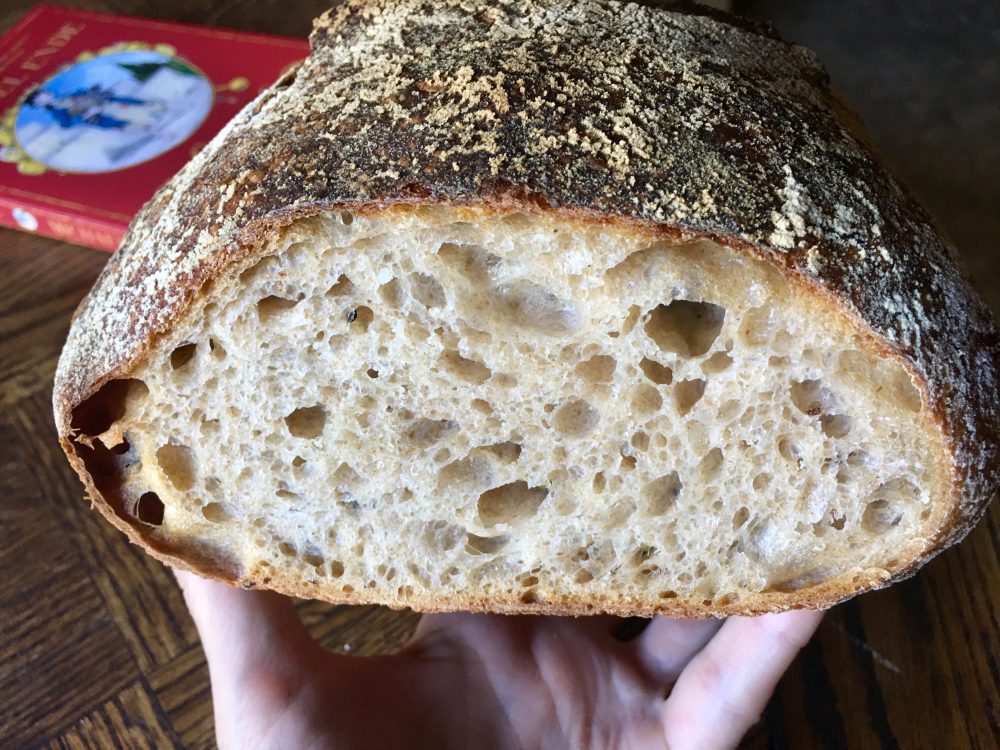 Success. Major Success.
I’m not afraid to say that I make amazing sourdough bread now, rivaling the best of them.
It was a steep learning curve though.
Perseverance. Tenacity. All words I used to use to amp up my resume, when applying for jobs, boldly coursed through my veins.
I followed Cooks Illustrated’s recipe and created what looked to be a very strong sourdough starter. (You need sourdough starter to make those beautiful loaves sans yeast, so that is the very first step: make a sourdough starter that you can and will use forever and ever and pass down for generations, provided you don’t kill it.)
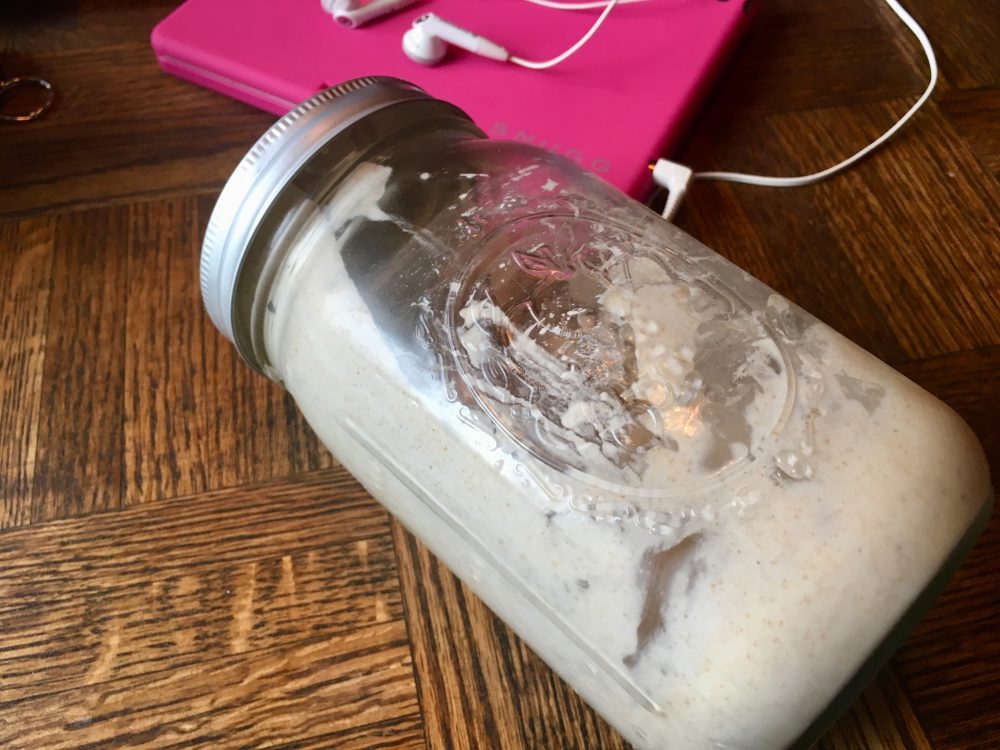
How do you avoid killing your precious sourdough starter?
- Don’t forget to feed it. Just like your kids – you can even name your sourdough starter – mine is dubbed Cosmos. (That’s an easy task and I feed mine twice a day while baking.)
- Store it in the fridge, when you’re not using it (for up to a month!). This makes sourdough bread making flexible in case you suddenly find yourself on a carnivore diet. (Did I just write that? Maybe a hint of things to come. 😳)
- When making bread with it, don’t forget to set some aside for future loaves. In other words, don’t use all of your starter in one loaf. My paranoid ass always keeps a stash in the fridge for fear I might accidentally do what I just said not to do.
Next, I was ready to bake. (Gulp.)
To begin, I humbled myself and started with the most basics of recipes without any of my “I can make this healthier and better” distractions. White flour (organic). Water. Salt.
Eat. Your. Mistakes.
Then, I learned to accept mistakes with joy. After all, it took Thomas Edison a lot of attempts (like 1,000?!) before getting that light bulb to work, eh? Best was the advice I read that you can still EAT YOUR MISTAKES. That was game changing for me. Like, really? Oh ok, those loaves that are flat and like bagels we can still eat. Awesome.
Yeah, they toast up deliciously, too. Eat those mistakes. (That helped.)
Then, I started studying other blogs who had gorgeous loaves.
You see, my Cooks Illustrated loaves weren’t rising much. It was kind of weird, but then I noticed they do something very different in their recipe vs all of the others I’ve seen out there. I won’t bore you with the details but it had to do with oven temperature and when to put the Dutch oven inside.
So I took what I knew from Cooks Illustrated and I merged it with what I was reading online. And… I had my first beautifully risen loaf. Party time.
Fast forward… I am at the point where I have my solid sourdough routine.
I’m going to share what I do, which at times, depending on the season, changes for me, because my frugality extends to not heating my house in the winter or cooling it much in the summer when I can help it. But if you keep a consistent temperature in your home then this whole sourdough-making process will be that much easier.
It took about seven attempts before I was nailing it.
Turns out that even though it seems like hard-core science, using a scale and taking things to the gram, I have found… now that sourdough and I are amazing bestie-friends, it’s actually quite forgiving. I encourage you to take it on. Make your own bread.
It’s an amazing thing. When I’m shaping my dough before proofing, in those brief seconds doing it, I’m literally transported somewhere else, channeling something else – I don’t know, I just LOVE it. 💗
I feel like my journey was truly that – a journey. I remember, fondly, all the steps and mis-steps – with no regrets.
My basic recipe and technique are weaved together from various sources and personal experience. I think that everyone will have their own journey with learning how to make sourdough bread. This is mine.
Something that helped me envision things was watching Ken Forkish’s videos. I highly recommend watching his videos and taking notes (specifically his flour, water, salt videos) for techniques on “pincer” method, folding, and shaping.
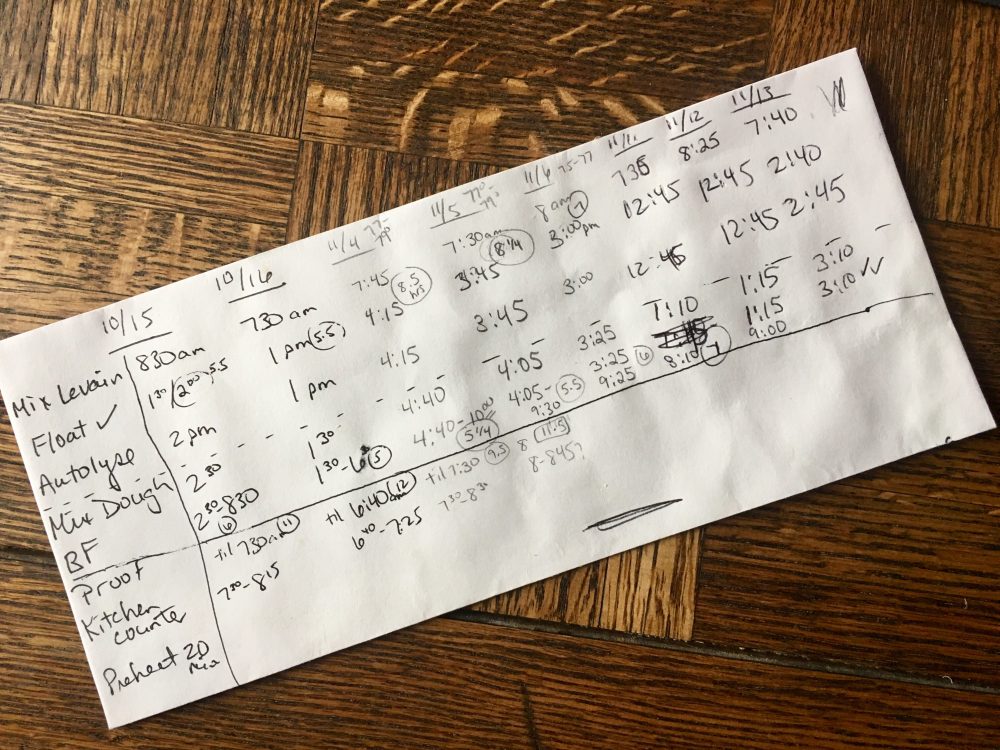 Pictured above is my schedule. I found it very helpful to track the different times I went through the steps, so I could compare temperatures and plan accordingly.
First I’ll show you what I do in pictures.
Following that are my lengthy instructions / recipe where I try to be as detailed as possible and in spite of my attempts it might still sound disjointed.
Sourdough Baking in Pictures
Season: Winter
Average house indoor temp: 66 to 72 degrees F.
Mix/feed final levain (sourdough starter) 8:15am Day 1
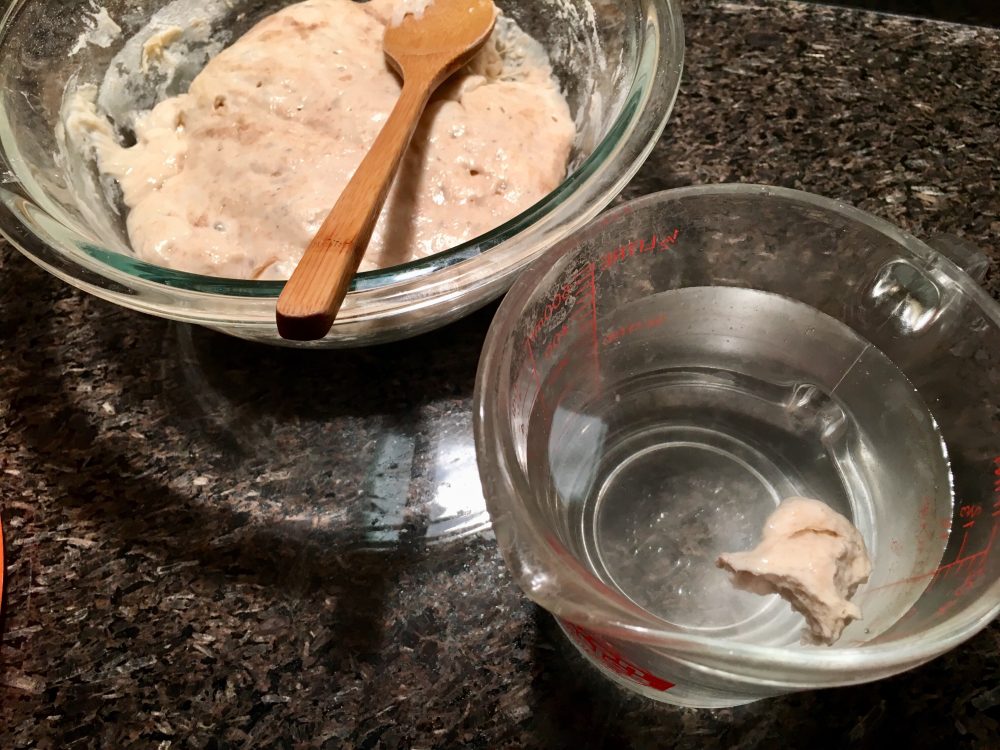
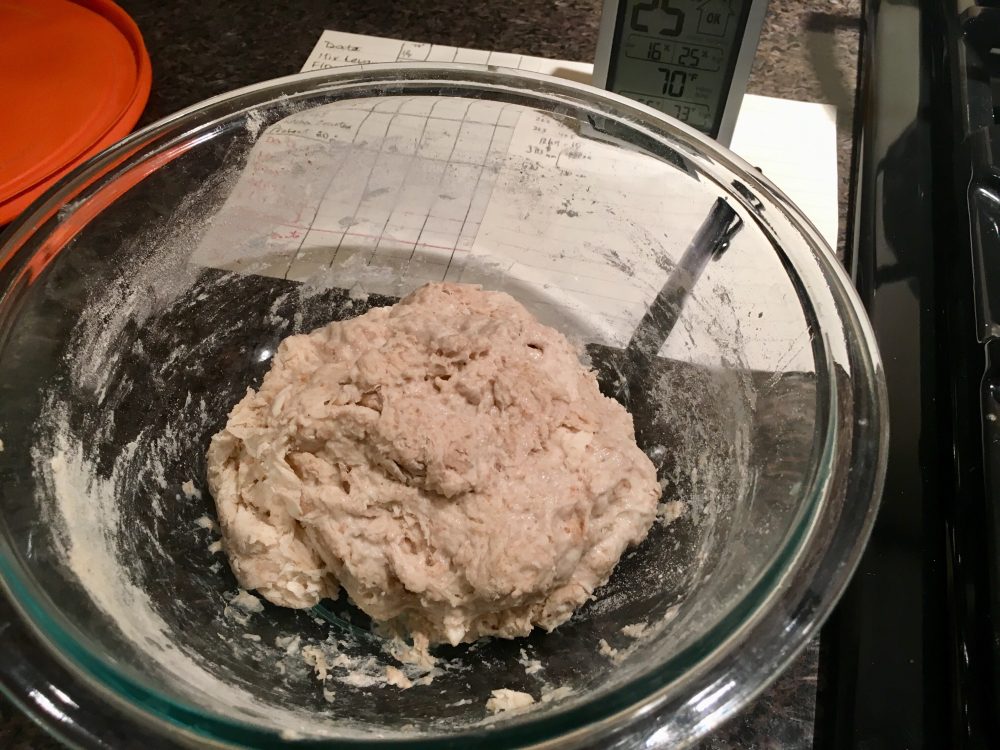 Float Test.
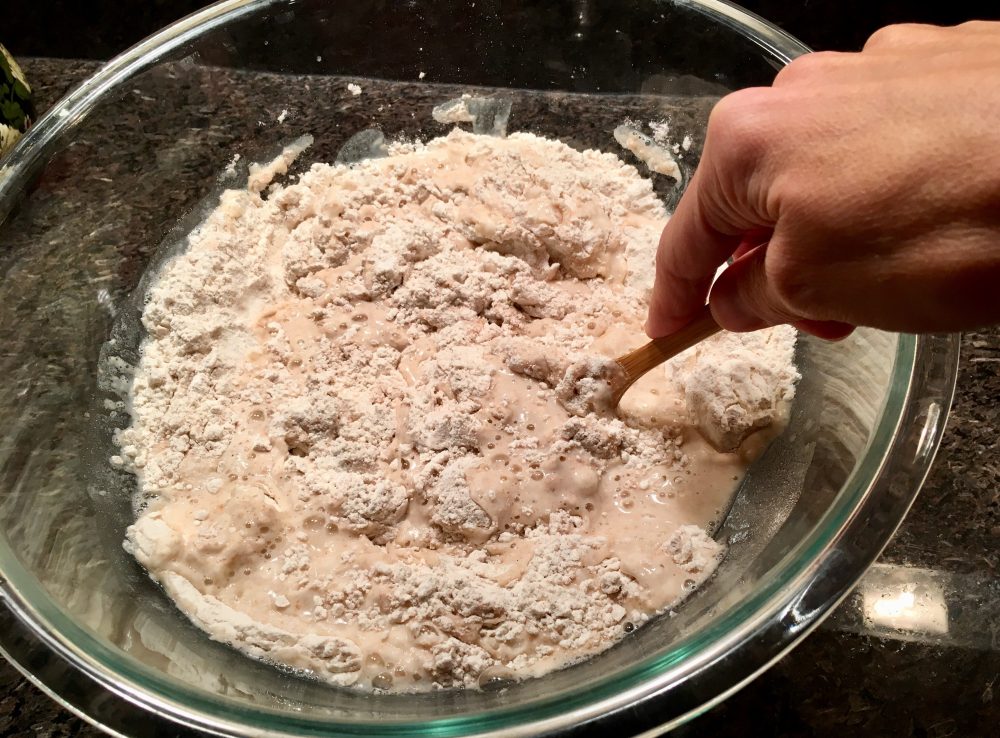
 Autolyse flour and water 6:30pm
 Add the salt and starter, fold, and pincer method. 7pm (bulk ferment begins)
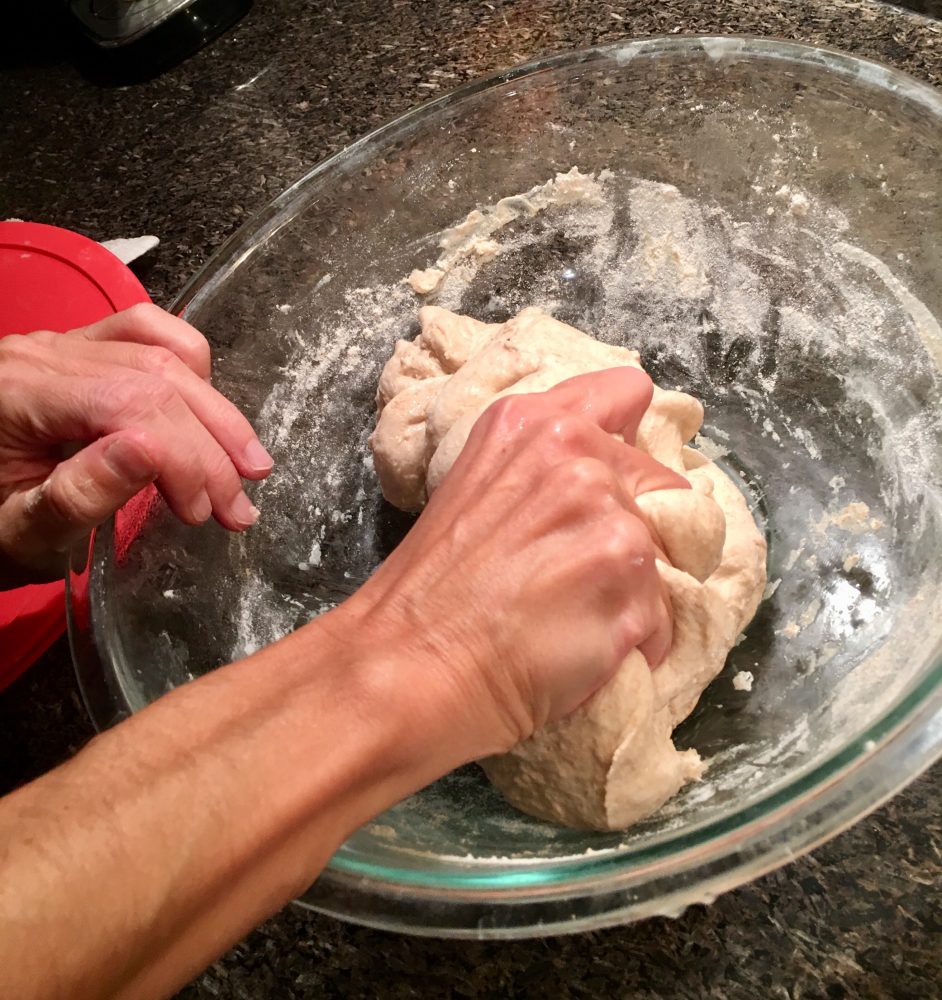 Fold 4 more times over next 2 hours. 7:20-9ish pm.
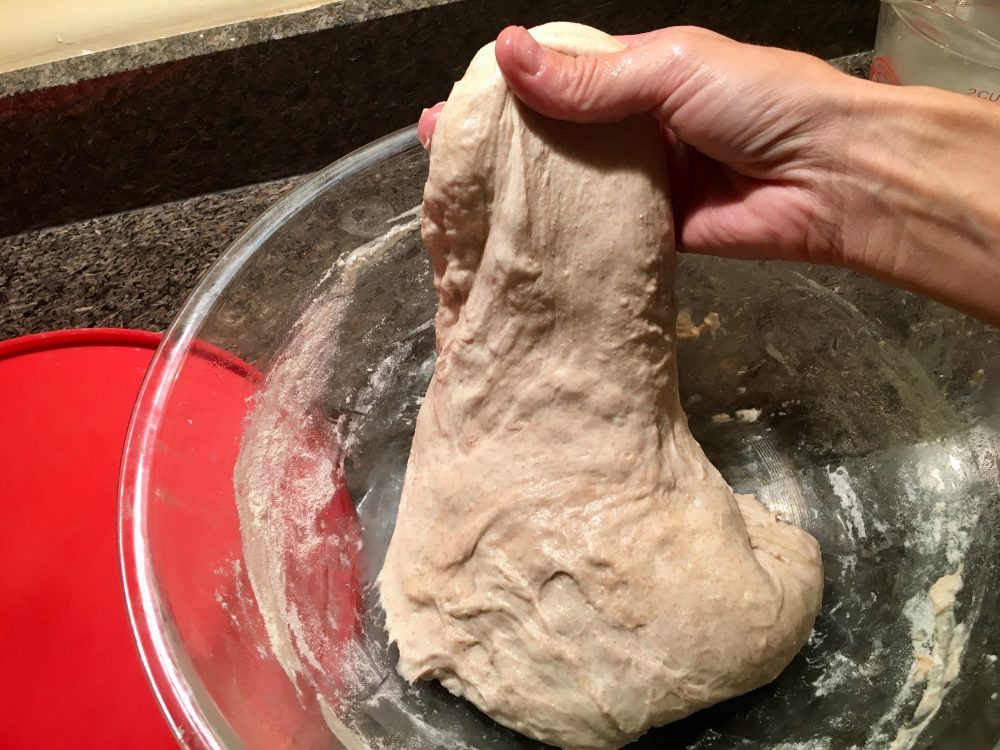 Ready to shape. It’s about 3X it’s size. 7:30am Day 2
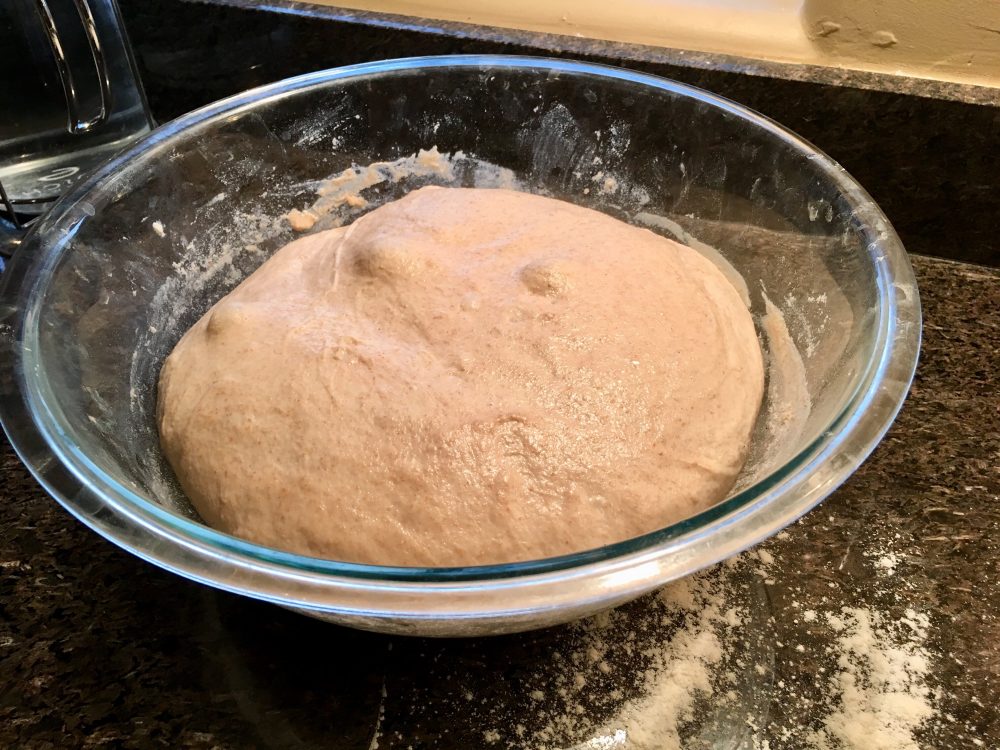 Sprinkle flour around perimeter of bowl.
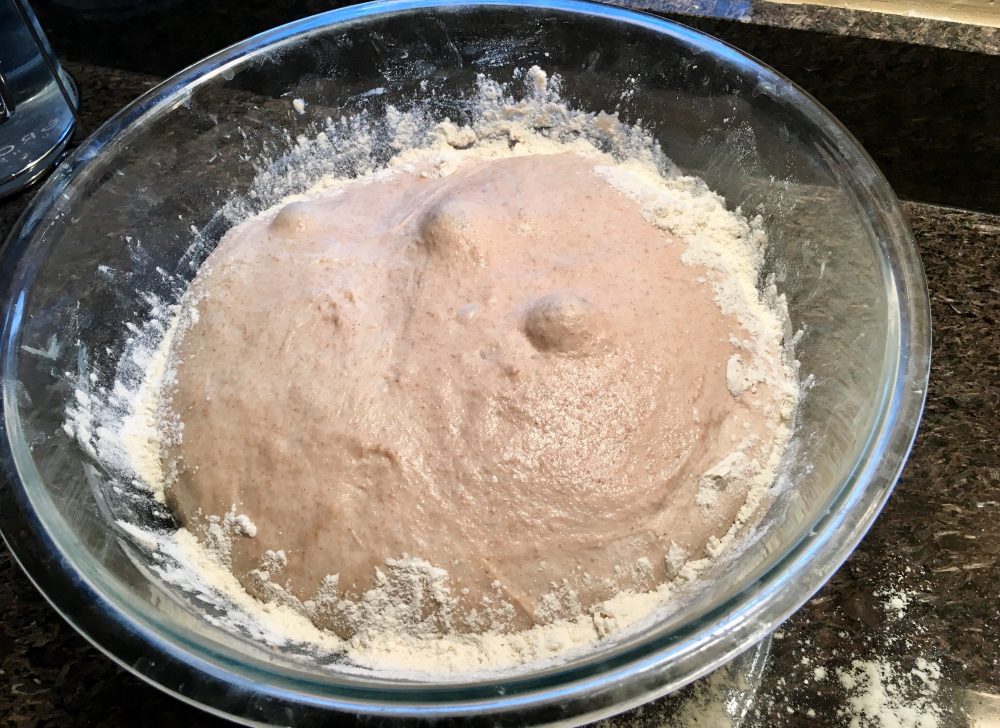 Shape the dough.
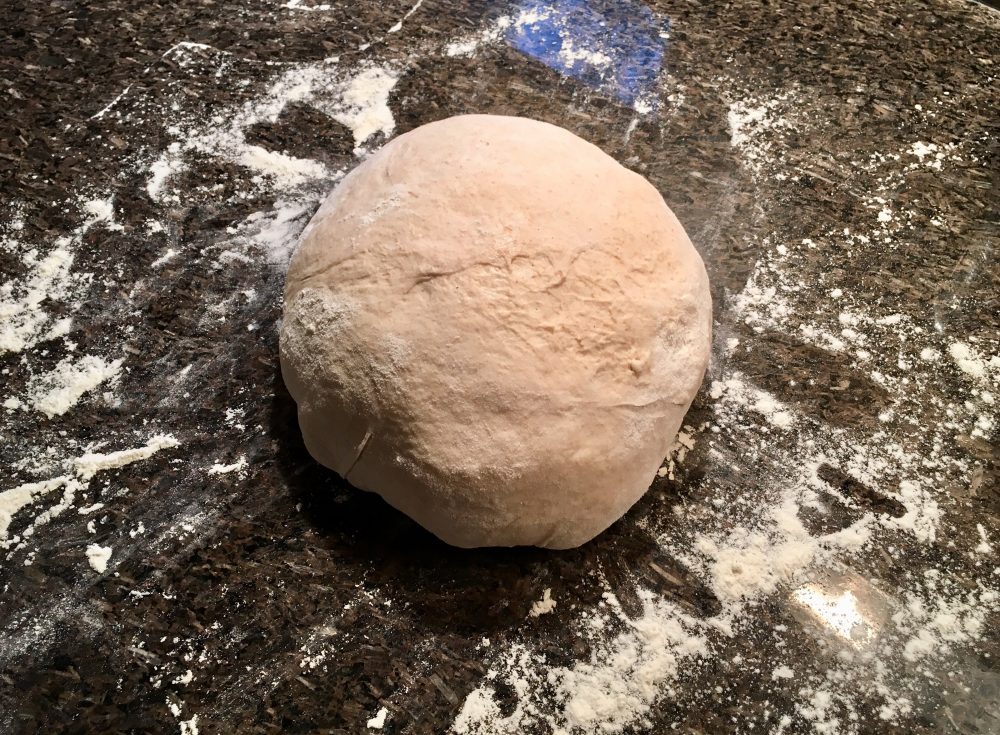 Place the shaped dough in a towel-lined bowl or banneton basket (majorly dusted with flour -> even still I’m not loving the banneton, due to sticking, and think I prefer a heavily dusted linen-couche draped in a bowl). Cover and set in fridge to proof for up to 12 hours (or on counter about 4 hours). I use a towel or Saran Wrap for fridge proofing. For counter proofing I use a damp towel. Arizona is dry.
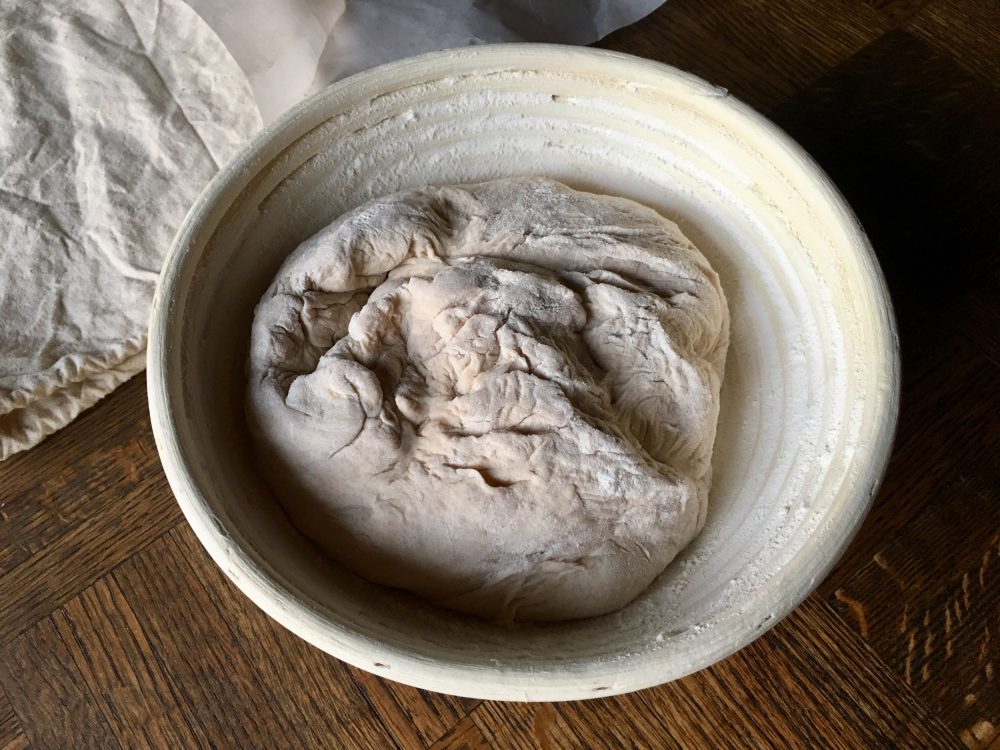 Proof finished 7:00pm (unless proofing on counter it’d have been much earlier)
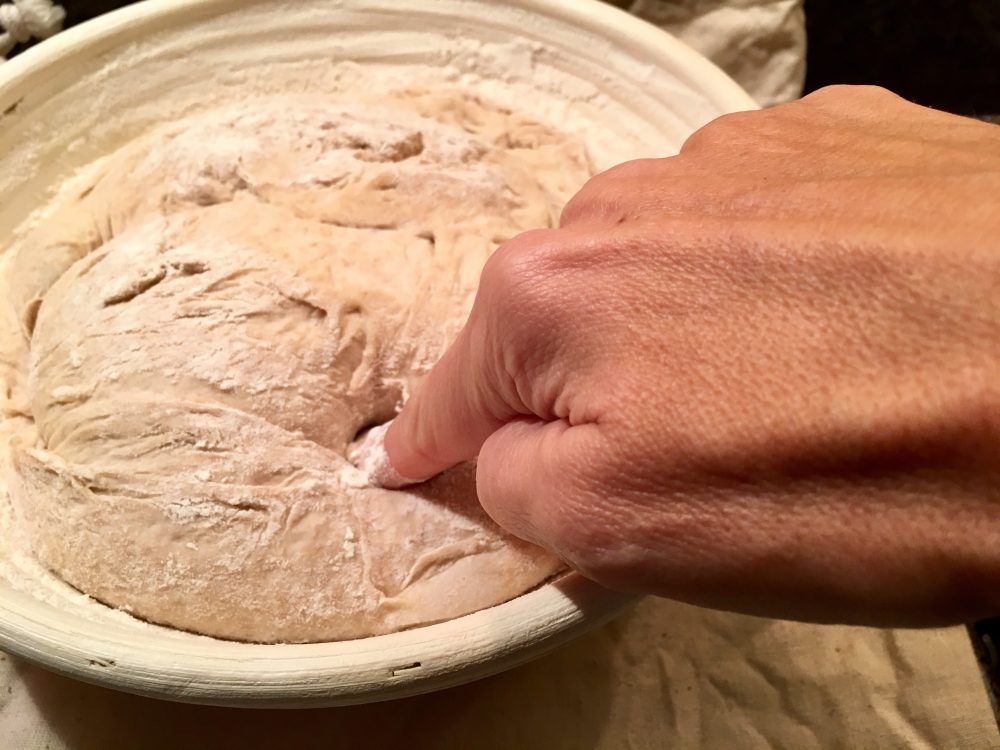
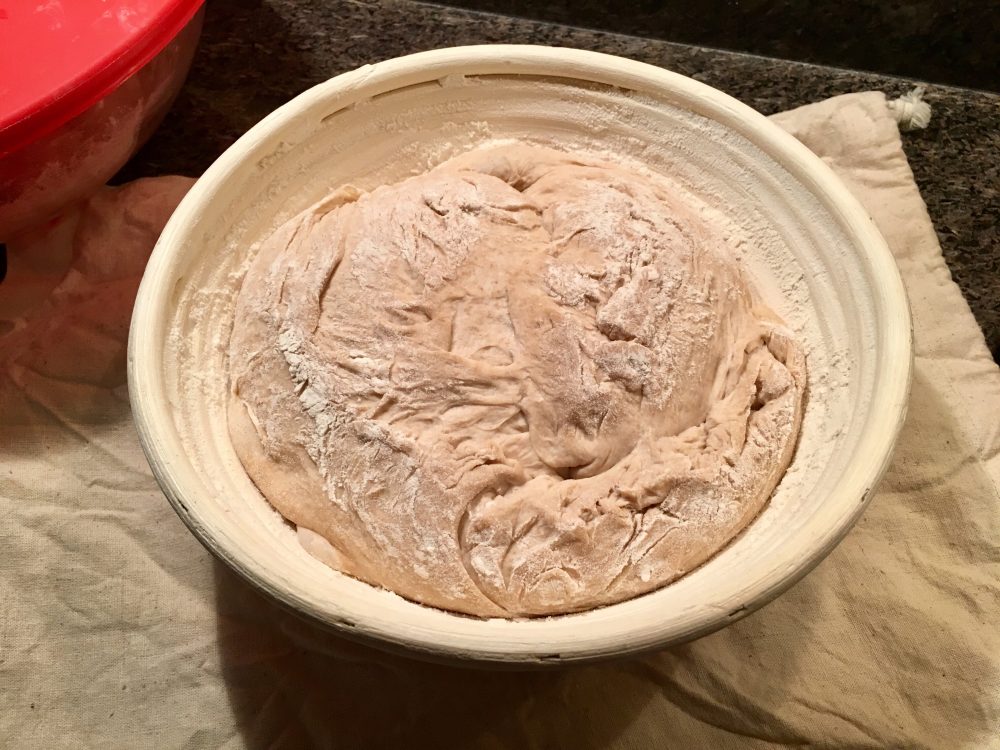 Finger-Dent Proof Test
 Bake
Bake
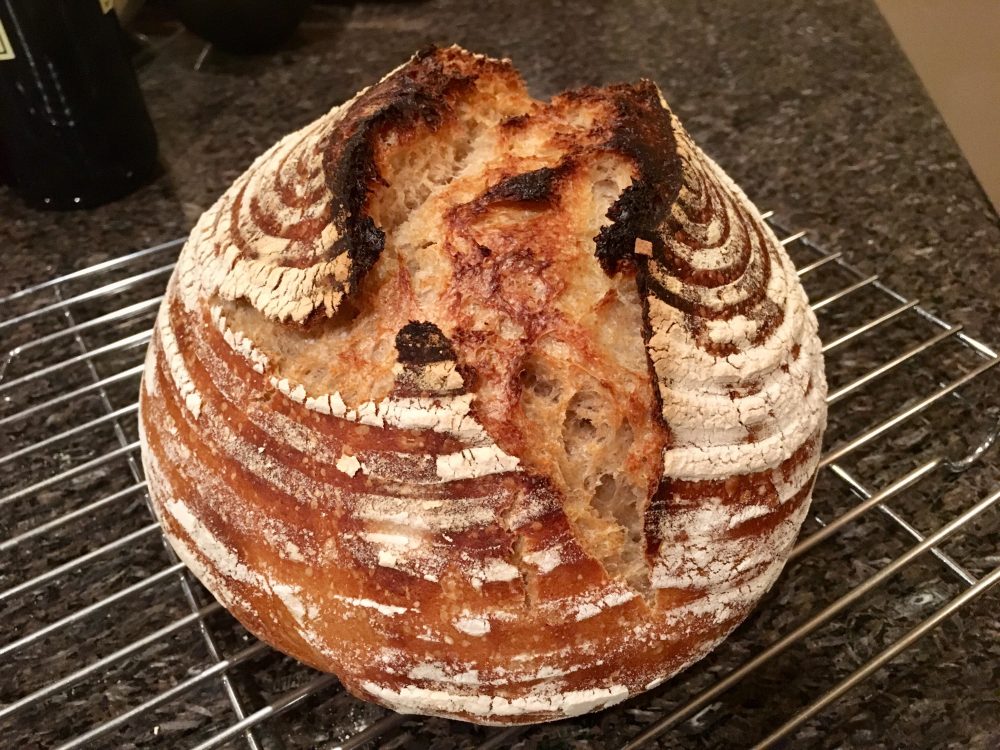 Listening to my bread sing 🎶 (crackle).
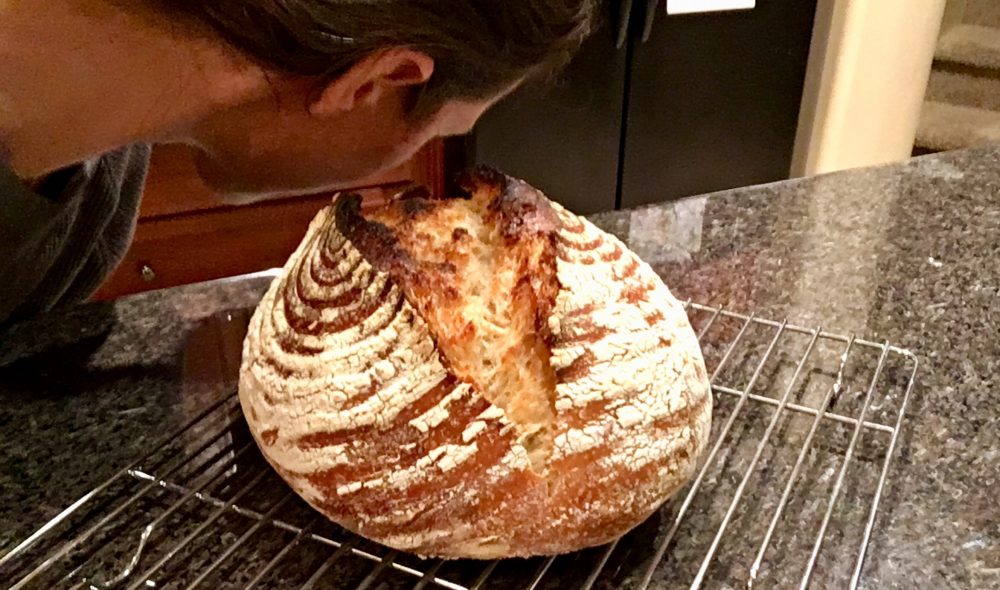 Eat
Eat
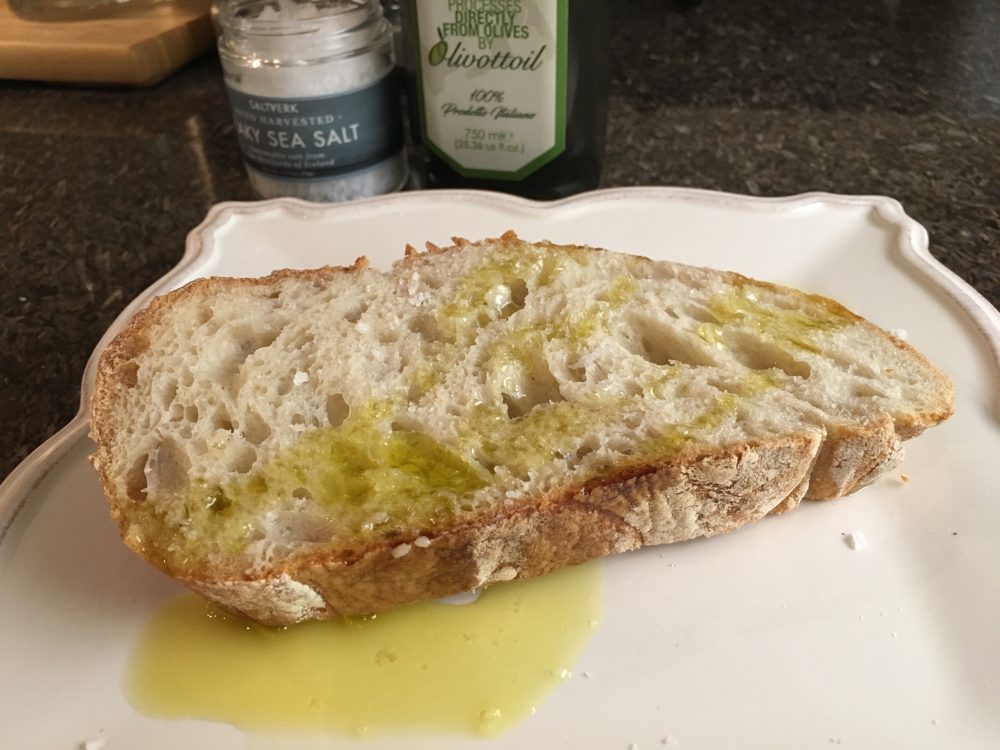
Sourdough (White + Whole Wheat)
This recipe makes 1 loaf and is a 2-Day Process
Regular “Maintenance” Feeding
(Small; to keep it active and fed)
(starter coming from fridge or for just keeping active on the counter)
- 13g starter
- 13g organic whole wheat flour
- 50g organic white wheat flour (lately I’ve been doing 40g)
- 50g water (lately I’ve been doing about 40g)
Levain Final Feed
(Bigger; last feeding before baking, you’ll see options below for this because sometimes I use less to save ingredients as I experiment.)
- 36g (or try 27g) mature, active levain
- 36g (or try 25g) organic whole wheat flour
- 144g (or try 108g) organic white flour
- 144g (or try 108g) water
FINAL Dough Mix Recipe
- 301g organic white flour
- 138g organic whole wheat flour
- 342g water
- 10g sea salt
- 108g levain (sourdough starter)
STEP 1) Main Morning Feeding
(Day 1)
A. Feed the levain using the recipe above (Levain Final Feed), mixing until incorporated. Loosely cover.
B. Rest at room temp for 5 to 9 hours (~5 hours in warmer house temp @83+ or 6.5 hours @82 degrees or 8 hours @77-79)
STEP 2) Do the Float Test
Place a small spoonful of starter in a cup or water. Is it floating? Yay you can move to the next step. If it’s not floating, try again in 45+ minutes. Repeat about hourly until it floats.
NOTE – OPTIONS: I save “some” of starter after the successful float test to store in the fridge, if there’s not some already saved in fridge (remember I get paranoid so I always make sure to have some in the fridge whether I’m baking or not).
So, two choices: Set some starter in fridge to hibernate and make future loaves at a future date OR…
- You want to bake soon (in the next day or two) and so you set aside enough starter for a “maintenance feeding” (recipe above), and so there’s technically no need to put any in the fridge because you’re setting some aside to bake with (though it bears repeating, I always have some stashed in the fridge for safe keeping no matter my plans).
Here’s what you do if putting away to hibernate in fridge:Set 1/2 – 1 cup aside in a glass mason jar, using a wet hand if you want. (Remember to leave enough for today’s loaf that you’re baking!)
- Put the metal lid on, inverted, and screw on the ring.
- Place in fridge (for up to 4 weeks) for future baking.
- NOTE: If you are not baking in the next month, take it out to feed it for a couple of maintenance feedings and then restore in fridge 5 to 9 hours after last maintenance feeding. You would do this every few weeks to keep it strong.
- If storing in fridge cuz you’re paranoid like me and want to ensure you always have some safe and sound AND you also plan on baking in the next day or so… Then you take enough to save some for the fridge… plus enough to set aside for a maintenance feeding that you’ll feed right now in a separate bowl, AND OF COURSE leave enough to make today’s loaf! (108g)
STEP 2) Autolyse
A. After successful float test of mature levain, set levain aside.
B. Mix the two flours, from the Final Dough recipe, by hand or spoon, in a large clean bowl. (I like clear glass.)
C. Add the water. Mix just until incorporated.
D. Loosely cover.
E. Let rest 25 minutes.
STEP 3) Mix the final dough
A. Take bowl with the flour/water combo. Sprinkle the salt evenly over top.
B. Transfer, with minimally wet hand, the weighted levain (108g, or more if kitchen is very cool) to the bowl. Fold over a few times, turning bowl as you go, with a lightly WET HAND. {Set aside remainder of starter for the moment if you have any.}
C. Pincer the dough.
D. Repeat fold and pincer.
E. Repeat again if needed.
F. Target dough temp: ~78 degrees (though mine is usually low-mid 80s).
G. Cover & Wait 15 minutes.
*If there is any leftover starter at this point, and when there is any leftover while doing maintenance feedings in general, save it in a separate jar/bowl in the fridge to make pancakes or just throw away. You can freeze this starter for pancakes, too. Get comfortable with throwing it away as you will always have excess, if you’re not saving it separately to make pancakes or something (google “sourdough starter pancakes”). It’s par for the course.
I often take about 2 cups of leftover sourdough starter, add 2 to 4 eggs, plus coconut oil or MCT oil, plus salt/cinnamon/baking powder, sometimes sugar. Intuition and baking cake experience helps. Mix it up. Pour into a greased baking dish and bake about 30-45 minutes at about 375 degrees F. I call it “Pancake Bread” and serve with maple syrup and butter if desired. A great way to use the sourdough starter instead of always throwing it out.
STEP 4) Fold the dough (4 times over the next 2 hours)
A. With WET HAND: This is done 4 times (doing 2 to 3 of the folds in the first hour, every 20 minutes). Do the 4th fold about 45 minutes after the 3rd fold. Cover lightly after each fold session while it rests between folds.
B. Invert after 4th fold. Cover.
C. Let it bulk ferment. (See next step.)
STEP 5) Bulk Ferment
For bulk fermenting, if you have warm house temps ~82+ it takes ~5-6 hours (think summer). If it’s 77 to 79 degrees, I bulk ferment a bit longer. If it’s ~70 degrees F, I let it bulk ferment overnight on the counter. You learn as you go.)
STEP 6) Shape the Dough
A. Flour the perimeter of bowl a bit – this helps ease the dough from the bowl. Flour counter. Flour hands. Greatly flour a towel and set it open inside a bowl. You want a tea towel or linen or something that doesn’t shed fibers. Or use a banneton (on amazon).
B. Gently scape down sides of bowl to release dough and transfer to floured surface.
C. Starting at the side closest to you, pull bottom two corners of the dough down toward you, then fold them up into the middle third of the dough.
D. Repeat on the left and right sides. Finally, lift the top corners up and fold down over previous folds.
E. Roll dough over so the folded side becomes the bottom of the loaf.
F. Grab the back of dough, and with pinkies on counter, using a down pressure on counter … pull it toward you.
G. Rotate 1/4 turn, picking it up, and do again 3 to 4X to shape into a fairly taut ball.
H. Transfer this SEAM-SIDE-UP to the towel-lined bowl. Gently fold over to cover the dough. It’s ready to proof (see step 7).
STEP 7) Proof
Proofing: letting it sit after shaping:
TWO OPTIONS:
1. Counter Proof: ~4 hours on the counter, proofing, assuming 70 degrees house temperature.
OR
2. Refrigerator Proof: overnight in the fridge (<- I like a fridge proof)
If the loaf was in the fridge for proofing, you can now take it out to get close to room temp for ~30 to 60 minutes and do the Finger Dent Proof Test (see step 8).
8) Finger-Dent Proof Test
A. Gently push tip of a floured finger into shaped dough. If it’s perfectly proofed, the dent springs back slowly and not completely.
*If no spring back: it’s over-proofed. (If this happens, you can try to punch it down and proof again)
*If it springs back completely: it needs more time, not done rising. Wait 30 to 45 minutes and Finger Dent Proof Test again.
MEANWHILE…
B. Preheat the oven to 500 degrees F for 20 to 30 minutes before baking, with rack in middle of oven with empty Dutch oven on the rack with lid on. At this point the dough can be in the proof basket having just come from the fridge or having already been sitting on the counter.
9) Bake
*Remove the heated Dutch Oven carefully with good oven mitts.
A. Invert the proofed loaf into the scorching hot Dutch oven… just flip the bowl over and let the dough land in the hot pot, even if it’s off center it is fine. Dough will be seam side-DOWN.
B. Score the bread with a sharp knife, not too deep and maybe a couple inches long.
C. Cover the pot and place back in the oven. Reduce the temp to 450 degrees. Bake for 20 minutes.
D. Uncover and bake for 20 to 25 minutes, until medium-dark brown to very dark brown all around the loaf (you decide).
E. Carefully with good oven mitts… Take the loaf out of Dutch oven and let it cool on a rack. It should be crackling soon after coming from oven – it’s singing to you. Once it’s cooled a bit, tap the bottom, and it should sound hollow.
