• Skip to primary navigation
  • Skip to content
  • Skip to primary sidebar

Kristen Suzanne

Writer. Expat. Foodie.

  • home
  • get my books
  • store
  • travel

omnivore

Strange Meals: My Breakfast Chocolate Salad

October 27, 2017 By Kristen Suzanne

Starting the day with a chocolate salad

I like having salads for breakfast because they’re fresh, crisp, and get my day started with vegetables. My daughter does, too. One day I simply presented it for breakfast and she ate it. No questions.

Why not?

And, why not pancakes for dinner? Or sourdough french toast for lunch?

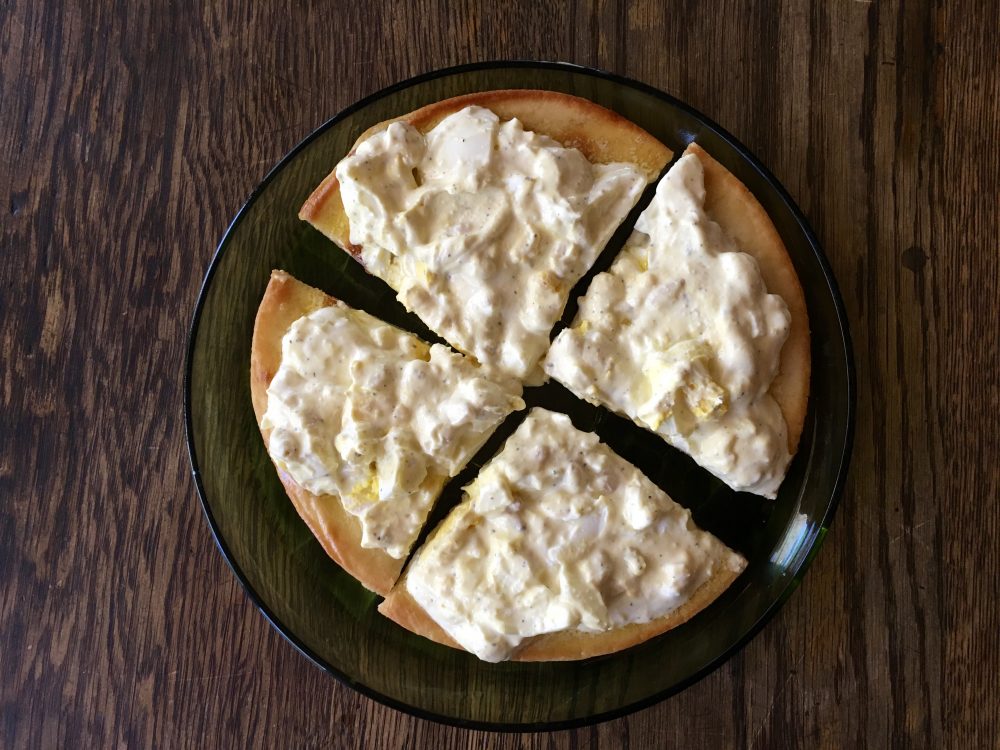
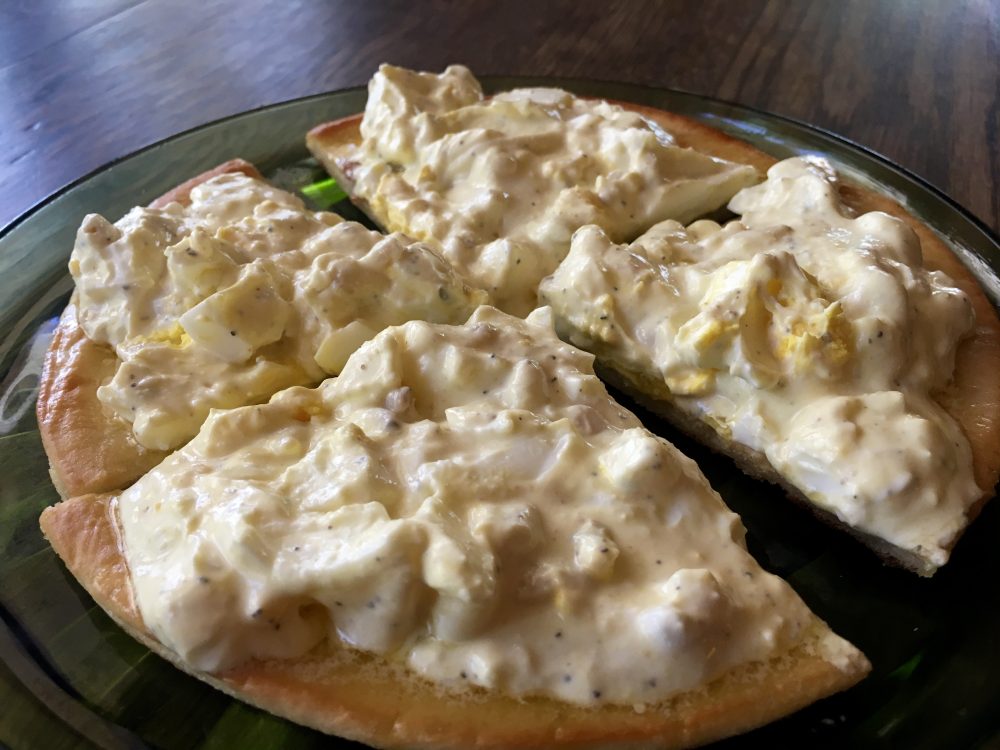
My daughter is also keen for pizza at breakfast (frozen gluten-free crust cooked with organic tomato sauce or tomato paste, sea salt, and raw, grass-fed, mozzarella cheese). It takes longer to make than a bowl of cereal (something we’ve never done in our house), but it’s worth the extra few minutes.

Miso soup is a great breakfast, too, especially on a chilly winter morning. Try that instead of coffee. Well, maybe not instead of, but perhaps after your first cup.

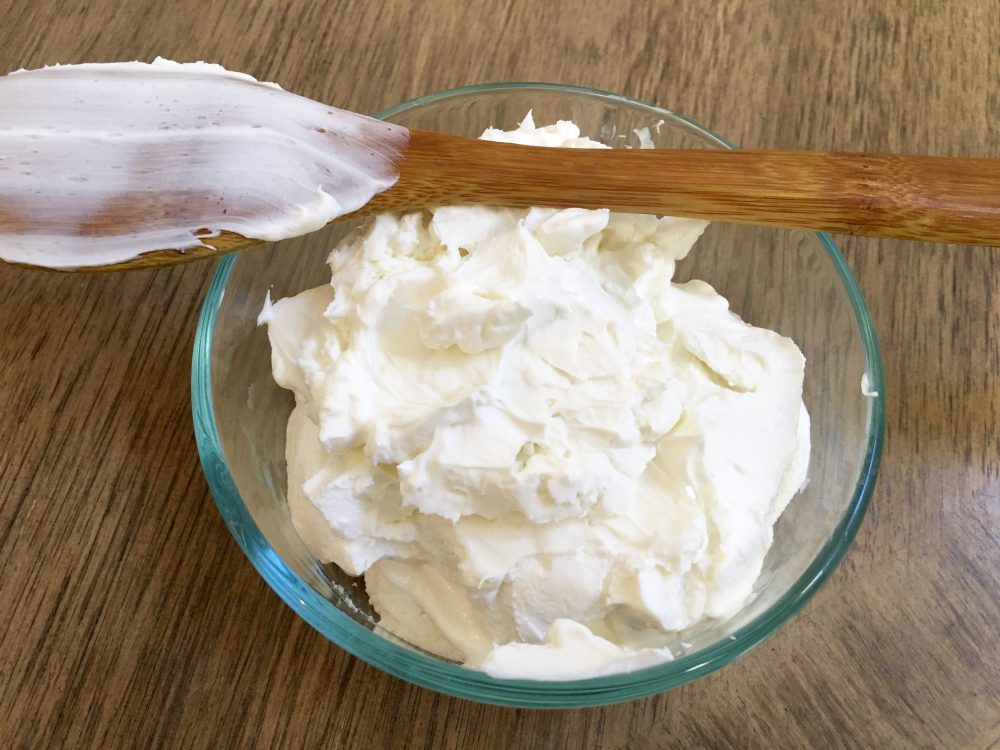
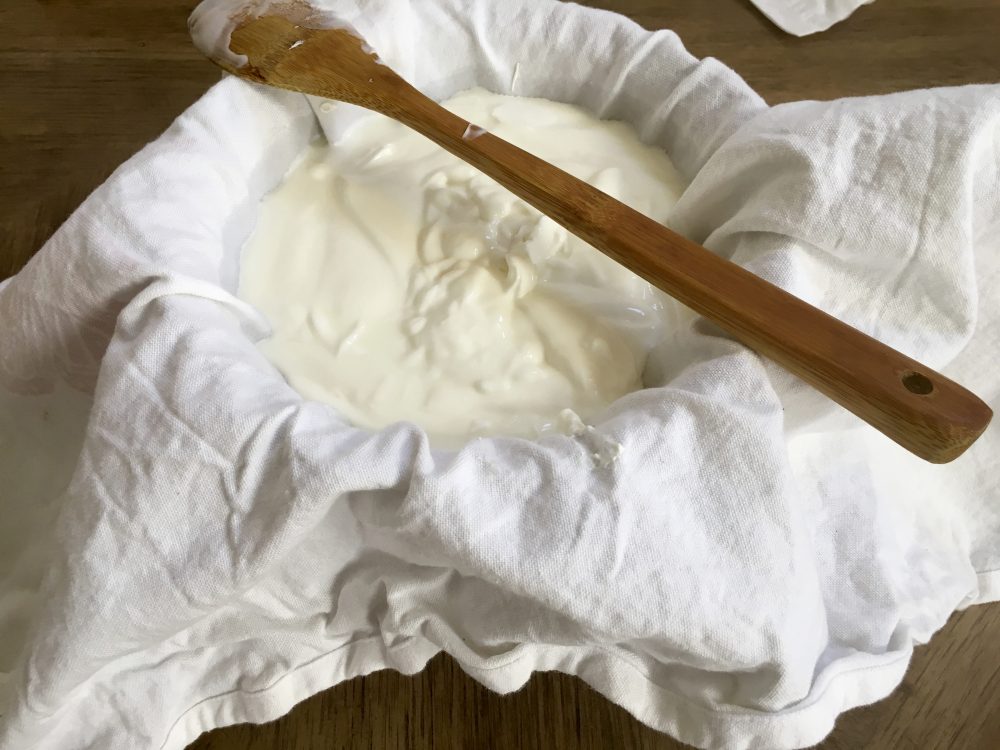
Omelets for lunch slathered in grass-fed whole-fat Greek yogurt. Yes.

Some nights we do savory oatmeal mixed with scrambled eggs.

Mix up the meals, no need to stick to tradition. Doing so can make it easier on you, because you can cook in the moment, with what you have on hand. Trust me, the family will enjoy it.

I even fed my family dessert for dinner one night. Whoa, that was a fun surprise… Grass-fed ice cream with gluten-free chocolate chip cookies.

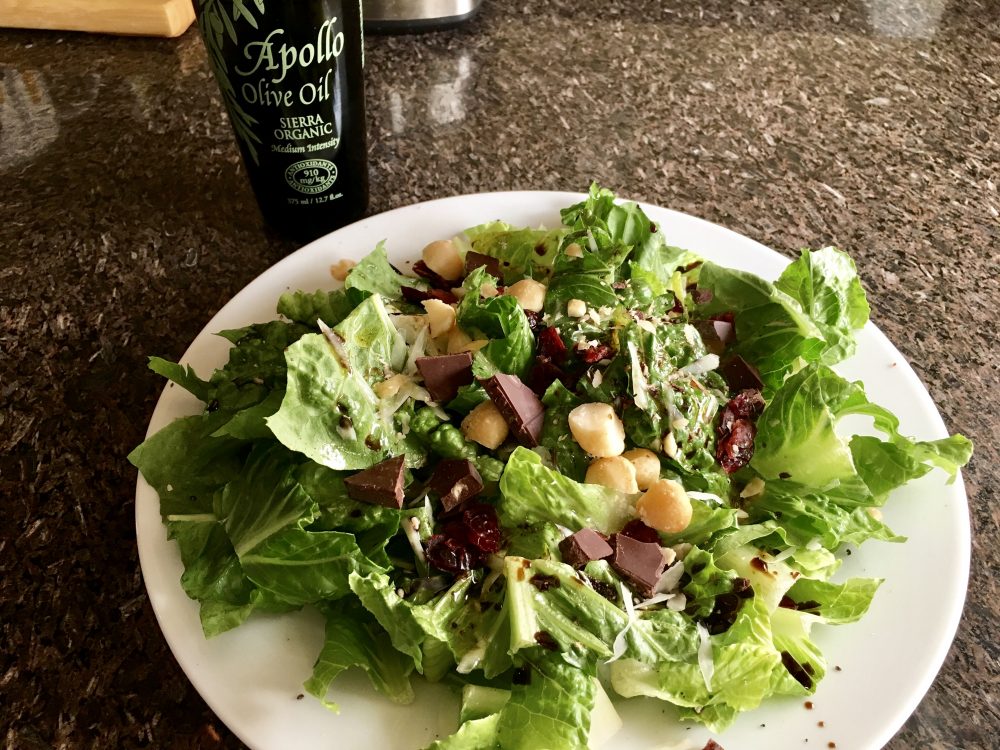
My Breakfast Chocolate Salad:

  • Organic romaine lettuce
  • Organic olive oil, courtesy of Apollo Olive Oil from California (polyphenol rich and fabulous!)*
  • Balsamic vinegar
  • Dark chocolate with ginger
  • Dried cranberries
  • Freshly grated parmesan cheese
  • Macadamia nuts
  • Sea salt and freshly ground black pepper

Toss it together. Start the day right.

* I’m on an epic olive oil kick right now. Ever since I was enlightened to the fact that you can cook with extra virgin olive oil, I started consuming more. Funny though, the learning inspired me to buy more but then I started eating more salads and drizzling it raw on everything. Still(!), one can (and should) cook with it. More on that here. In my search for TRUE olive oil, because did you know they’re not all “true” (more on that in future posts or just read this book, Extra Virginity), I learned about the throat burn of olive oils, high polyphenols, processing, origins, health benefits, etc. I’m Italian and I should’ve known as much, but I didn’t. Better late than never.

This olive oil from Apollo Olive Oil keeps it local, California, and is a trusted source for TRUE olive oil. It’s fabulous. One of my favorite aspects is the bottle – it should always be a dark container and never clear glass – I love it’s pouring spout and wood top. Adorable. Smart. Delicious.

SaveSave

SaveSave

SaveSaveSaveSave

Similar Posts:

  • Recipe: Mama Mia Braised Meatballs
  • Olive Oil… In My Coffee – Can You Imagine?
  • Recipe: 1-Pot Beef Heart Goulash (Gluten-free). Perfect for Valentine’s Day!
  • Joy! Turns Out You CAN Cook with Olive Oil
  • Low-Carb Homemade Quick Meal: Cauliflower Egg Scramble

Filed Under: antioxidants, longevity, olive oil, omnivore, product review, recipe

This Mango Meal …

August 21, 2017 By Kristen Suzanne

I slowed my life down the past few years.

It wasn’t easy since I’m a go-go-go goal-oriented gal.

But… My intuition told me to, and I decided to listen, because last time I didn’t listen I ended up marrying the wrong person. Mom always told me to pay attention to those red flags.

This time I am.

So, I slowly started slowing my life down.

One simple way to do this is to “eat when I eat” which means awareness or mindfulness with every bite. I’m not reading my iPhone while chewing. I’m not talking while eating. I’m not thinking about what to do after I’m done consuming food.

It’s tasting, feeling, seeing, smelling, and experiencing my food … as I eat it. Right now.

It’s simple, but it’s not always easy. It takes a fair amount of reminding to be mindful when I eat.

Eat when I eat. That’s the mantra.

I’m getting pretty good at it finally. It’s become natural for me now.

Pictured above you see a vibrant meal of Mango I made, loaded with spicy, bitingly fresh ginger… glistening, polyphenol-rich olive oil… flaky, crunchy sea salt… and zesty, bright lime.

I was mindful as I peeled the mango, I was aware while I grated the ginger and zested the lime. I was in awe when I drizzled the shiny, bright olive oil, and I relished crushing the flaky sea salt between my fingers. Sea salts are a passion of mine.

I inhaled the scents of each item.

When I was done creating, I tasted each bite with verve.

It was one of the best meals ever.

A simple meal of mango.

That’s living.

SaveSave

Similar Posts:

  • Recipe: Minted Mango Salad
  • My Latest Vice – Chili Lime Mango
  • My Delicious Raw Food Intake Today
  • Cosmic Carrots with Deviled Mango Dressing
  • How To Make Raw Food EASY!

Filed Under: beauty, energy, food journal, ginger, gluten free, Kristen Suzanne, longevity, Meditation, My Mom, olive oil, omnivore, paleo, raw, raw recipes, recipe, salad, tao

Recipe: Homemade Grass-fed Cream Cheese

August 15, 2017 By Kristen Suzanne

Organic Grass-fed Homemade Cream Cheese

One of the things I was happy to have back in my life post-vegan days… dairy (this is an understatement for my husband). Specifically though, it’s grass-fed only. Happy cows, Happy earth, Happy Me.

This includes cream cheese.

Here’s an easy recipe for making it. It’s creamy, tangy, full of flavor, and downright refreshing.

Some people call this yogurt cheese, but I call it cream cheese because when you use Straus whole-fat yogurt, it tastes and feels like creamy cream cheese. Get some Straus and begin (I buy mine at Whole Foods Market or Sprouts Market).

The gist of it goes like this. Strain the whey off grass-fed whole-fat yogurt (save the whey for other recipes or soaking nuts/oats, etc). I prefer Straus brand because of the flavor, and I like the company.

Easy and empowering. Tastes better than what you can buy, too. It’s the freshness I think. No added preservatives.

Straining yogurt for cream cheese

Get a quart of grass-fed whole-fat yogurt (like I wrote, I prefer Straus for extra “cream cheese-y flavor”). Strain it through a thin tea towel, over a mesh strainer, and into a bowl. Get that? You have a bowl, with a strainer in it, with a tea towel in the strainer, with the yogurt in the tea towel.

Cover the strainer with a plate or something. Let it set like this for a few hours on the counter.

Then, carefully pull the corners and sides of the towel up and tie the ends around a wood spoon (or similar device). It should look like a stork carrying a baby-type of thing. Gently remove the towel with the yogurt and transfer it to an empty water pitcher, with a large enough opening where the towel can hang suspended inside the pitcher.

So, picture in your mind… the wood spoon has the towel hanging from it (ends tied onto it) so that the yogurt is hanging in the towel, like a weight. This is inside a large vessel or vase of some sort with the wooden spoon crossed over the top rim, so the towel can hang inside the pitcher, suspended, letting the whey drip more and not touch the whey that accumulates in the bottom of the vessel. The weight of the yogurt will cause it to drip whey off the yogurt, leaving you with cream cheese.

Transfer this nifty contraption into the fridge overnight.

It should feel firm at this point and stopped dripping. Remove the towel and open it up on a counter. Scrape off the cream cheese and transfer it to a container with a lid. You just made cream cheese. This will last for up to a month in the refrigerator but of course you’ll have eaten it long before then.

Enjoy!

SaveSave

SaveSave

SaveSave

SaveSave

SaveSaveSaveSave

SaveSave

Similar Posts:

  • Recipe: Cream Cheese Radish Spread
  • Instant Pot Yogurt – One of My Favorite Things to Make
  • I Add Dr. Cowan’s Vegetable Powders To My Chipotle Bowl
  • (Recipe) Honey n Granola Frozen Greek Yogurt: A Summer Breakfast
  • Recipe: No-Mayo Deviled Eggs.

Filed Under: omnivore, recipe

Greg’s Favorite: Egg Salad Pizza (Gluten-free)

August 9, 2017 By Kristen Suzanne

Egg Salad Pizza – want some?

I wanted an egg salad sandwich, but I didn’t have any sourdough bread. I settled on a pizza crust and created an egg salad “pizza” – which I’m guessing isn’t truly pizza (no red sauce or cheese), but you get the point. Baked crust topped with egg salad looks like a pizza-type meal.

Greg LOVED it. (Me, too.)

I used my favorite gluten-free crust that I buy by the box. It’s not organic – boohoo – but it’s tasty as F.

Really tasty gluten-free pizza crust

I made egg salad with pasture-raised eggs (the only eggs I’ll eat because the hens are treated very well and they have a lovely diet), Straus greek yogurt (my mayo replacement), mustard, salt, pepper, and a dash of citrus (or apple cider vinegar). Oftentimes I add Dr. Cowan’s Garden Vegetable powders (my favorite kitchen hack), and ground turmeric powder, garlic powder, onion powder, etc. Oh, maybe fresh herbs if I have (or dried).

The TOTALLY best way to make hard-cooked eggs is in a pressure cooker. The shells beg to be taken off – so easy. I put them in a pressure cooker (sitting on a trivet) with a cup of water. Turn it on to high pressure for 4 minutes. When the beep goes off, transfer to ice bath and peel shortly after. It’s so so so much easier than using the stove.

Get the pizza crust cooked, slather on a bit of grass-fed butter, slop on some egg salad. Eat. Eat. Eat.

SaveSave

SaveSave

Similar Posts:

  • New York Trip – Don Antonio’s – Gluten Free + Plus a Kid Pizza Tip
  • Eating 4X As Many Vegetables with Instant Pot (Smart)
  • 5 Breakfasts I’m Eating This Week
  • My Smoothies These Days Look Like This
  • The Perfect Black Beans (Instant Pot, Of Course)

Filed Under: apple cider vinegar, eggs, gluten free, grass fed butter, omnivore, recipe

Recipe: Matcha Lime Mousse – Creamy and Zingy

August 6, 2017 By Kristen Suzanne

Matcha Lime Mousse – creamy and zingy.

Most of my creations come from trying to use whatever I have on hand … inspired by whatever I recently heard re health foods or food TV shows.

In an effort to use the avocados and limes plus getting polyphenols from matcha green tea… I made Matcha Lime Mousse.

I love matcha green tea powder so much I wrote a whole book with recipes using matcha – tons of polyphenols, health benefits, and the most amazing feeling in my mind when I consume it.

In hindsight, I’d use more ginger to get more ginger kick and ginger goodness.

Brain food.

Recipe: Matcha Lime Mousse

  • 3 medium avocados, peeled and pitted
  • 2 limes, juiced (about 1/4 cup juice) plus some zest
  • 1 to 1 1/2 inches fresh ginger, chopped
  • 1/4 cup raw honey or maple syrup (more to taste)
  • pinch sea salt
  • 1/2 teaspoon matcha green tea powder (or more)
  • 1/4 cup cold (or room temp) brewed green tea (or water)

Blend everything until smooth. I used a Blendtec high-powered blender although I prefer a Vita-mix.

Recipe yields about four servings.

Update:

Here is my latest and greatest favorite matcha! It’s by Pique Tea.

Pique Tea: Clean and pure matcha


SaveSave

SaveSaveSaveSaveSaveSave

SaveSave

SaveSave

Similar Posts:

  • Recipe: Michigan State Matcha Green Tea
  • Traveling with My Favorite Matcha Green Tea
  • My New Kindle eBook – Matcha Hacks – 55 Recipes Using Matcha Green Tea Powder
  • Recipe: Matcha Breakfast Coconut Ice Cream (Low-Carb)
  • Iced Mint Matcha Coffee – Gross or Brilliant?

Filed Under: avocado, ginger, gluten free, honey, longevity, Matcha, omnivore, paleo, Vitamix

Square Sourdough “Starter” Biscuits Recipe

June 27, 2017 By Kristen Suzanne

My biscuits may be square, but they’re easy. :)

Last year I tried to make my own organic sourdough bread at home. My efforts were less than stellar. Way less. I knew that it’d have a fairly steep learning curve, but it didn’t help matters that I tried to alter the recipes to suit my health-insane ways (like using einkorn flour, etc). I basically hung up my bread-making apron. For the time.

A year later, I decided to try makeing my own sourdough bread again (there is no “try”)…

because…

  1. I’m inspired to save the money by making my own (the wonderful bread I was buying was $7 a loaf and required driving almost 40 minutes). My new frugality-is-cool mindset didn’t sit well with that.
  2. I found a recipe that looked decidedly easy, if only I’d just follow the damn directions as they were.

I was game.

Long story short (I’ll share the long story later, in another post) – I’m still working on the bread. It hasn’t been easy, but we’re happily eating the mistakes, as I learn to adapt the recipe to my current environment (summer in Arizona <— hot).

When making sourdough bread, there is plenty of leftover sourdough “starter” to either use for baking something else or throwing it away.

I decided to bake with it.

Enter: Square Sourdough “Starter” Biscuits Recipe

Obviously, you need sourdough starter to make these, which I’m guessing most of you don’t have. So, I’d recommend “trying” the recipe with grass-fed whole-fat milk, Greek yogurt, sour cream, buttermilk etc. Maybe a mix of two, if you’re inclined. I’m pretty confident they’ll be tasty no matter which way you go as they’re pretty forgiving.

The great thing is there’s no need to roll them out. Why bother? I keep it simple when it comes to cooking.

Just Real-Food here.

Ingredients:

  • 12.5 ounces organic white flour
  • 3/4 teaspoon salt
  • 1 tablespoon baking powder
  • 3/4 teaspoon baking soda
  • 13 to 14 ounces sourdough starter (or milk / yogurt / sour cream / buttermilk)
  • 4 ounces (1/2 cup) melted butter, ghee, or refined coconut oil
  • extra melted butter or oil for greasing the baking dish

Directions:

  1. Preheat the oven to 425 degrees F.
  2. Get out an 8×8 baking dish and grease it with plenty of melted butter.
  3. In a medium to large bowl, stir together the flour, salt, baking powder and baking soda. Add the sourdough starter and melted butter (or oil). Stir together well, until incorporated, using your hands if necessary, but no need to over-mix.
  4. Transfer the dough to the greased baking dish and squish/spread it in to fit. As you do this, you might get some melted butter/oil creeping up the sides of the baking dish – encourage this – and brush it (using your hand is fine) across the top of the dough.
  5. Bake for 20 minutes. Enjoy with softened butter and raw honey drizzled on top.

PS My next experiment will be mixing Dr. Cowan’s famous vegetable powders to give the biscuits a veggie kick. Stay tuned.

Similar Posts:

  • Sourdough Starter Mini-Me With Einkorn Flour. Oh, and Sourdough Rye Crackers
  • Sourdough Bread Fail – I’m Baking My First Loaf. Whoops. Not What I Expected.
  • Sourdough Starter Day 4 Plus Sourdough Pancakes and Sourdough Crackers.
  • Sourdough Bread Attempt #2 with Einkorn Flour. Why Einkorn Flour?
  • My Sourdough Bread Sings To Me. A Good Sign.

Filed Under: arizona, Bread, coconut oil, dessert, ghee, grass fed butter, omnivore, recipe

  1. Navigate:
  2. 1
  3. 2
  4. 3
  5. 4
  6. 5
  7. 6
  8. 7
  9. »
Next Page »

Primary Sidebar

About Kristen Suzanne

I’m an author  living in Italy. I write about food, fitness, and our experiences as I travel the globe with my family.

GET MY BOOKS NOW!


Use these, I love them!


Subscribe to Global Kristen Suzanne

Click here to subscribe via RSS

... or enter your e-mail below:

Kristen Suzanne on Twitter

Tweets by @KristensRaw

Kristen’s Picks

  • Vegan to Omnivore Health Update and Foods We Eat
  • Vegan to Omnivore Journey – Step 1 – Pasture Raised Organic Fresh Eggs – Poached. Scrambled. Baked. Slow Cooked. Sous Vide.
  • My Vegan Diet Caused Health Problems. Would Primal, Paleo, Or “Real Food” Be Better?
  • Updated Juicer Review - My Newest Juicer!
  • I Stopped Eating Vegetables for Over 60 Days and Ate a Carnivore Diet!

Categories

Kristen's Raw © Copyright 2018 · This site uses affiliate links. I receive commissions for referring customers to products I use and recommend.