My last shocking post about my food journey into omnivore land brought me a ton of great emails from people asking what we’re eating now that we’re no longer labeling ourselves as vegan. Great question! To answer that, I thought I’d share the journey in various blog posts as it happened for us (and continues), which was/is in steps.
First and Foremost: Thank you to everyone who reached out in support of my family. I was touched from all of the wonderful emails I received. It was kind of surprising (yet, kind of not) to hear from so many people who went through similar experiences. A number of people also asked about the future for Kristen’s Raw. Well, as you might have noticed from the new header, I plan on sharing a wide spectrum of foods from raw to vegan to paleo and to what is commonly called “nourishing” or “real” foods. Since I find my food choices including recipes from all of these, I no longer label myself, which is nice. I just eat real foods, almost exclusively home made. My raw and vegan recipes of the past still have a place in my life, but we’re also eating a lot of other things. Just because we’re not exclusively vegan anymore doesn’t mean we don’t still eat raw or vegan recipes.
So, let’s get to it! Come with me into omnivore land.
Step 1: Organic Pastured Eggs – Poached, Scrambled, Baked, Slow Cooked, and Sous Vide.
Our gateway food into omnivore land was eating organic, pasture raised eggs. If you remember from my last post, I had been dreaming of eggs for awhile so I was pretty excited about it. For us, eggs meant getting animal sourced retinol, choline, among many other important nutrients including cholesterol. Have I come a long way… I now want to eat cholesterol rich foods.
I quickly learned that the best eggs would be organic pasture raised eggs (local, if possible) because not only do pastured eggs have the most nutrition, but the birds are out and about doing their natural thing… eating bugs, grubs, etc.
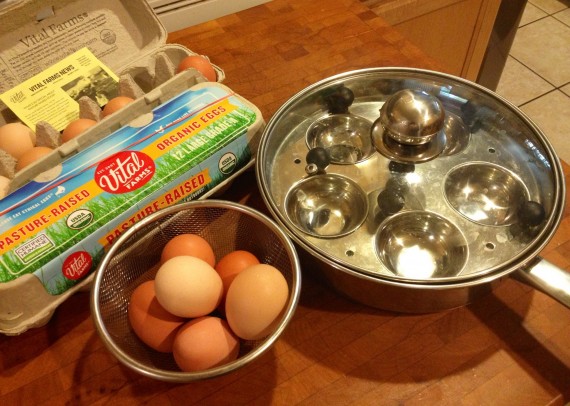
My slow stroll through Whole Foods showed me a company, Vital Farms, that offers organic and pasture raised eggs out of Texas. Not exactly local, but I’m relieved that I can buy high quality eggs that are pasture raised. I recommend checking out their website for more information. When we’re not eating Vital Farms eggs, I source them locally from our farmers market. The problem is that we eat a lot of eggs now and they have a limit on how many we can buy. Therefore, our eggs tend to come from a couple of different sources, which I kind of like.
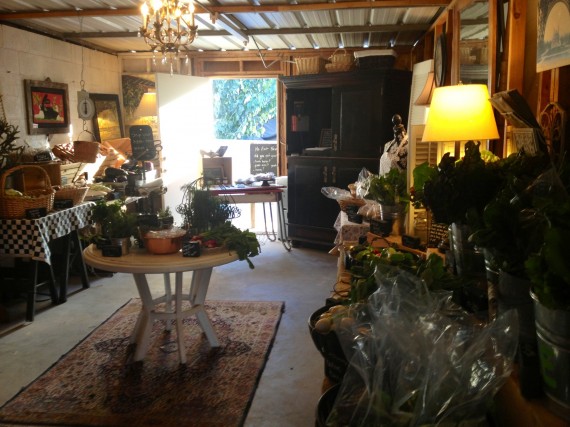
But, even with eating pastured organic eggs, it doesn’t tell the whole picture. As someone who would like to avoid soy, I’ve learned that soy is common in supplemental feed for egg layers. Ack. Oh well, not everything is perfect and that’s ok. Part of being healthy is not stressing so I try my best to source the best and that’s that.
Preparing Our Organic Pastured Eggs
At first I was concerned about cooking the eggs too much and destroying some nutrients, so I decided to poach the eggs figuring that this was a pretty gentle way to cook them. I googled for ways to poach eggs and dove in. It included heating water to a simmer, creating a vortex with the water, dropping the egg in, and cooking for a set amount of time (about 3 to 4 minutes). It was an intimidating process and although I was pretty successful with my first attempt, it wasn’t easy to replicate. So, back to google (and amazon) to look for help in poaching eggs.
After reading rave reviews, I bought this groovy stainless steel egg poacher (it was the only one I could find that was stainless steel and not non-stick). I used organic coconut oil to grease the cups. It worked!
To back up a moment, how was it eating eggs after having avoided them like the plague for about a decade? It was weird. I had a like/dislike experience, but it was definitely more on the “like” side. After having them a few times, I was so over any “dislike” and now I look forward to them every day, but in the process I had/have fun making them all kinds of different ways.
As a busy mama, I wanted to find a way to have cooked eggs on hand in the fridge (grab-n-go) so I found some ways to do so without having to watch a pot boil for hard boiled eggs.
Baked in the oven like hard boiled eggs. Who knew?!
I started googling for ways to make hard boiled eggs and found that you can make them in your oven. I just don’t feel like watching a pot boil. This is great way to get hard boiled baked eggs that is easy as can be.
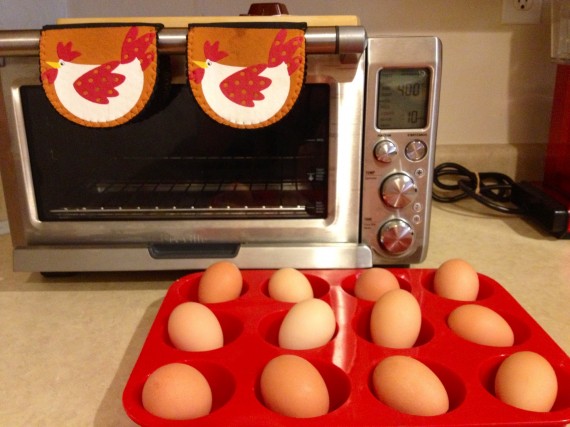
Using a silicone muffin pan, just put one egg in each and bake. You might need to fuss with times a bit to get the texture of egg you like, but that’s the story with making any hard “cooked” egg, eh? Tweaking the time to make them just the way you want will take a couple of tries. Basically, it’s about 325 degrees F for about 30 minutes – give or take a few minutes. When they’re done baking, place them in ice water for about 10 minutes to cool.
A great thing about having hard cooked eggs on hand is that they last, in the shell, for about a week in the refrigerator. They’re great for taking on the go or for busy parents in the morning who need to spend time getting coffee ready instead of eggs. ;)
Slow cooked in a slow cooker – Hard Boiled Slow Cooked.
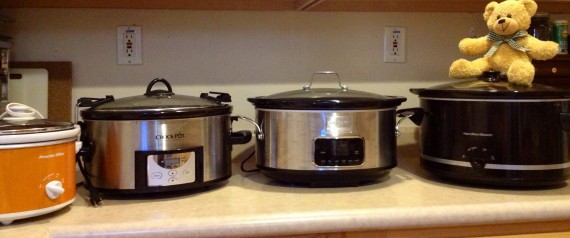
Let me take a moment to honor the slow cooker. Can I just say that I can’t believe I didn’t know how awesome slow cookers were until now. Why didn’t my mother ever tell me? I am now the proud owner of 4 slow cookers and indeed I use them all (I actually own five but I keep one at mom’s house). Sometime I use three at once. Here are the ones I have: 6 quart, 7 quart, 8 quart, and a mini. I love them all for different reasons, but if I had to choose one, I’d go for the 7 quart for its versatility (more on slow cookers in future posts – I have much to say for how I use all of these different sized beauties), but for this post’s purposes, you can use your slow cooker to cook “hard boiled” style eggs.
There are two ways to do this:
- Put as many eggs in your slow cooker as you want or can fit, add enough water to cover and cook on “low” for about 2-3 hours.
- Or, the version without water… simply put the eggs in your slow cooker and turn on “high” for about 1.5 hours.
One thing I’ve learned with slow cookers is that they seem to cook faster than what a lot of recipes I’ve tried recommend. So, play around a bit with the times to see what time you like best.
Frittata
One of my favorite ways to enjoy organic pasture raised eggs is in the form of a frittata. By doing this I accomplish a few things:
- It makes for an easy (and complete) grab-n-go breakfast which every busy parent likes.
- It puts together protein, fat, and veggies all wrapped up in one nice little delicious package.
- It’s great for Kamea (babies or toddlers) because you can easily cut it into tiny bite size pieces once it’s cooled.
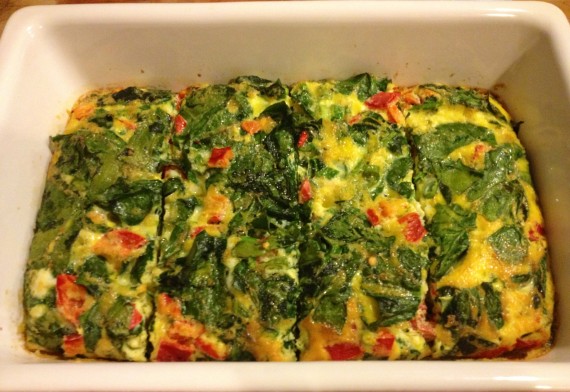
So, to make my veggie-filled frittatas, here’s what I basically do.
- Large baking dish, greased
- Large mixing bowl
- My favorite egg beater
- 18 eggs (I use 12 whole eggs plus 3 to 6 egg yolks)
- Veggies I have on hand (usually 2-3 big handfuls greens, a shredded large carrot or yam, 1 chopped red bell pepper, 4-8 pressed garlic cloves, dried or fresh herbs… and sometimes I add 1/4 cup organic salsa or a couple tablespoons of organic tomato paste)
- 3 to 4 tablespoons of my favorite organic ghee (or high vitamin butter oil)
- Use my new best friend in the kitchen, my Breville Smart Oven (a convection toaster oven).
I whisk the eggs, ghee (or butter oil), and seasoning in the big bowl. Then, I add the veggies, stir, and pour into a greased baking dish. I try to cook it at a low heat, around 275-300 and I’m always tinkering with it depending on my patience, but my goal is usually lower and slower. The process takes around an hour (oftentimes more). My post is getting long enough, so I’ll try to reserve a special post sharing how awesome the Breville Smart Oven is, but suffice it to say, I use it multiple times a week and pretty much never use my regular oven. The beauty of this is that it heats up super fast while not heating up my whole kitchen in the process. Plus, it’s convection.
Pro-Tip: Take your eggs out to get to room temperature before using in the recipe. This prevents the ghee or high vitamin butter oil from hardening, because ghee and high vitamin butter oil are typically kept at room temperature and super soft, ready to use. If you forget to take the eggs out ahead of time, just rinse them for a few minutes (in shell, obviously) under warm water.
Ok.. let’s back up a minute… As you can now see, we also use ghee and high vitamin butter oil as well as eating eggs regularly. Although we started with just adding eggs in our diet (using coconut oil to cook them), it wasn’t long before we added ghee and later high vitamin butter oil. How do I choose which one to use – organic ghee or high vitamin butter oil? Ghee is great for high cooking temperatures… and high vitamin butter oil I like to use for things that aren’t cooked very hot such as slow cooker foods or baking at temps that aren’t really high to keep the nutrients more in tact or just drizzling on hot veggies. I will post more on these later, but in the meantime I want to say that, for the ghee, I only use Ancient Organics ghee – it is truly amazing and different than any other ghee. I buy in large quantities directly from them as it has a great storage life – same with the High Vitamin Butter Oil. Oh, and beauty tip… I love putting the high vitamin butter oil on my face. It does, after all, contain skin beautifying nutrients like vitamin A (retinol), which many people find in anti-aging products. It’s a great night time (or day-time-I’m-staying-home-all-day) moisturizer. And, using ghee as a face or body moisturizer is not uncommon… but bear in mind, your dog might want to lick your legs non-stop.
I usually make my veggie filled frittata once a week and cut it into 6 big squares (that’s 2 whole eggs plus 1 yolk per serving plus veggies). I simply take it out of the refrigerator in the morning and eat it cold. This means we have breakfast ready and made for two mornings (sometimes spreading it out over 3 mornings depending if we eat other things with it). Easy. Yum.
In my effort to cook things at lower temperatures so as many nutrients as possible remain intact, I have made my frittata in my slow cooker, too. This works quite well except for two things.
- In spite of my greasing up the slow cooker insert with coconut oil, it still sticks a bit.
- My slow cookers are all oval shaped which makes it kind of difficult to cut out even sized pieces, not to mention it’s just plain not easy cutting frittata out of a slow cooker. Still, it makes a nice frittata at a low temp. Basically follow the same directions I noted above, but pour the egg batter into your greased slow cooker and slow cook on high for about 2 to 3 hours. I like to check for done-ness around the two hour mark. If it’s still wet, I let it go another 30 minutes and then check again.
Sous Vide – OMG… brilliant kitchen equipment
The other day, Greg says to me, “I have an idea for a birthday present for you and I think you’ll either think it’s meh or it’ll be life changing.”
Clearly I was intrigued.
Enter: Sous Vide
I had seen sous vide machines used on some of my favorite cooking shows, and I had read about it briefly in The 4-Hour Chef (a very useful book), but I never considered getting one. I didn’t think I really needed one. But, after the steep learning curve I was experiencing in the kitchen with actually cooking (i.e., heating foods) and wanting to do a kick ass job, Greg took it upon himself to do some research which led him to sous vide cooking.
After I saw some videos, and read the raving reviews online, I put some makeup on and brushed my hair. Then, I ran down the stairs exclaiming, “My birthday isn’t until June, how can you tease me like this? I want! I Want! Now! PRETTY PLEEEEEEEEASE!”
Well, as you can guess, since I’m posting about the sous vide and it’s not June, I received my birthday gift … early. :)
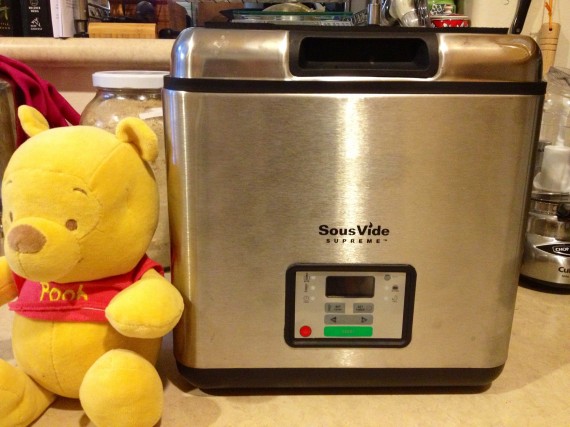
Sous Vide Intro: Why is a sous vide awesome? I’d say my main three main reasons for loving the sous vide (also known as a water oven) are a) the ability to cook with absolute consistency… every time… the perfect whatever-food-you-want, b) it cooks at low temperatures – like a slow cooker, and c) it gives you great flexibility because you can keep most foods in the sous vide for extended periods of time without over-cooking. You know how timing everything in the kitchen can be hard when cooking multiple things like a protein, veggies, and making a salad? With a sous vide, it makes it a piece of cake. Plus? It’s the hot new thing for home cooks.
I’m new to using it and I can’t wait to share more with you on how cool this thing is. But… holy moly it’s awesome and cooking eggs in the sous vide takes life to new levels. Honestly, I’m not sure I’ll ever go back to making eggs any other way now that I make them sous vide. Ok, that’s not true, but darn close. I think I’ll go between making my veggie-loaded-frittatas and making the perfect eggs, sous vide style.
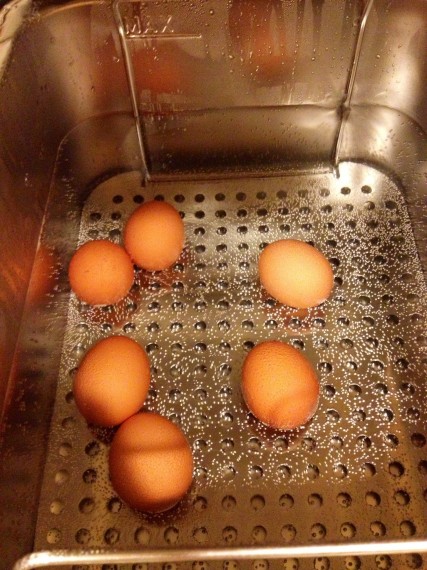
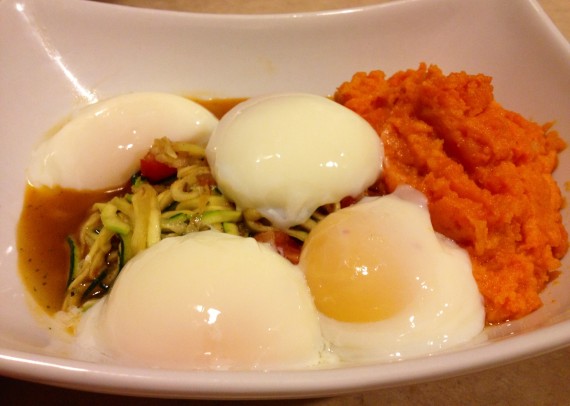
On a side note, we have a road trip planned during the summer and I am taking my sous vide on the road. It makes perfect sense because it’s so easy to use and clean up is a snap. I can’t wait to share pictures of me using my sous vide supreme in a hotel.
EDITED TO ADD (4/25/13): Although I mentioned it in the title, I neglected to mention that we also scramble our eggs in the body of the post. It’s not as often but we still do it. I love scrambling them in Ancient Organics ghee or organic coconut oil. When I scramble our eggs, my typical M.O. is to cook up a lot of dark leafy greens in the ghee, then crack in the eggs after the greens have cooked for a few minutes. Scramble up the eggs while finishing up the greens. Coconut aminos are great added to the pan for this as well as orange zest.